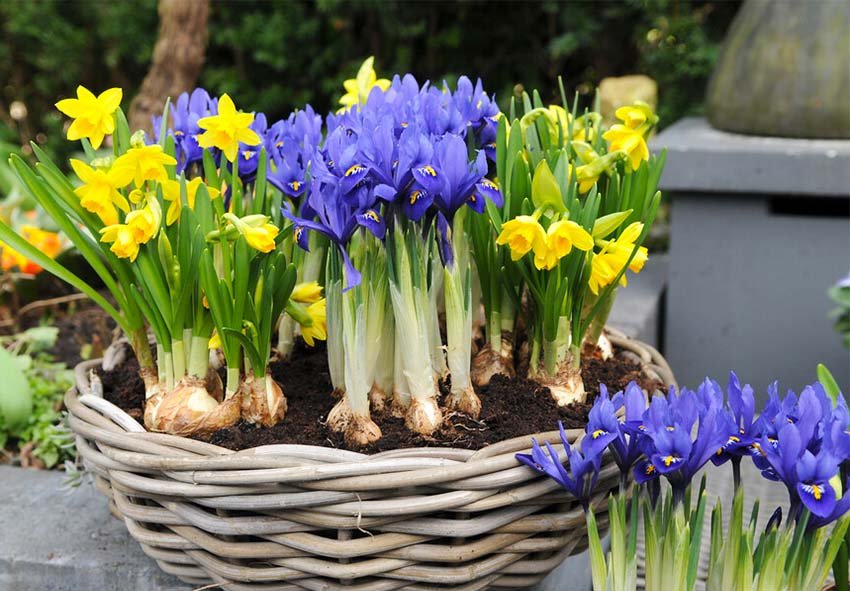
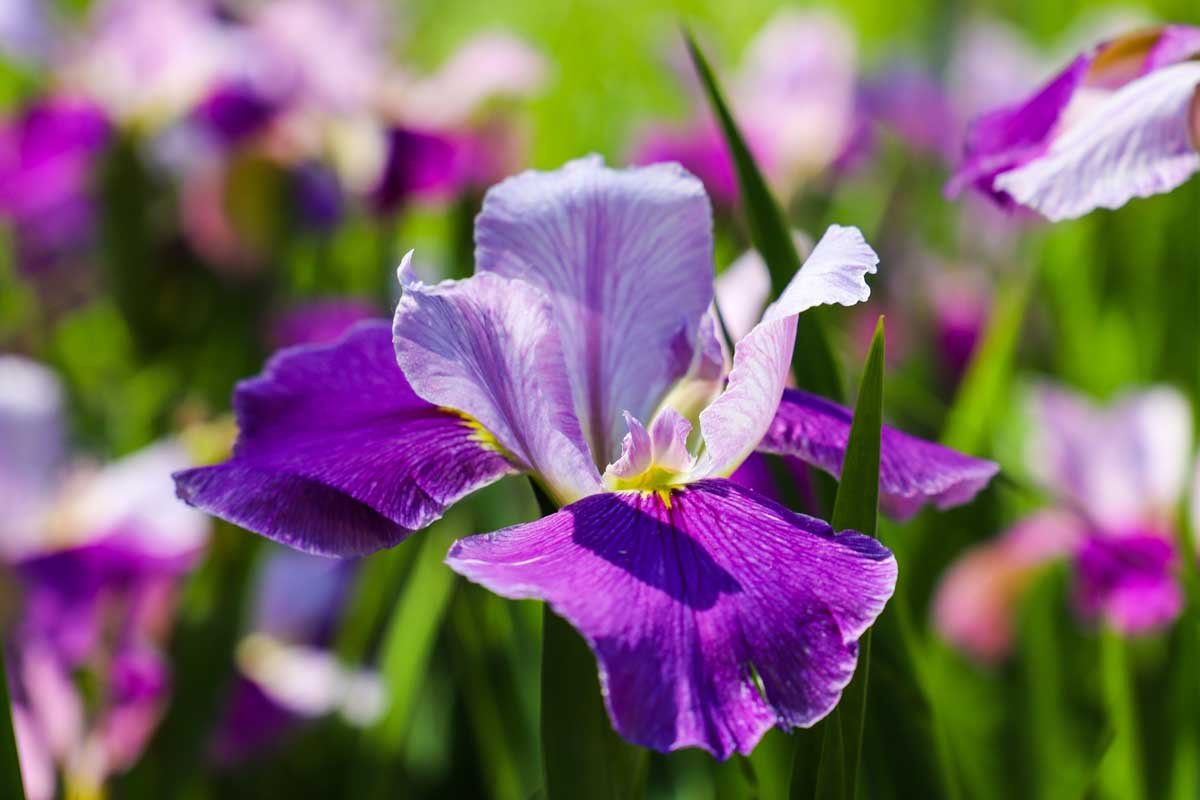
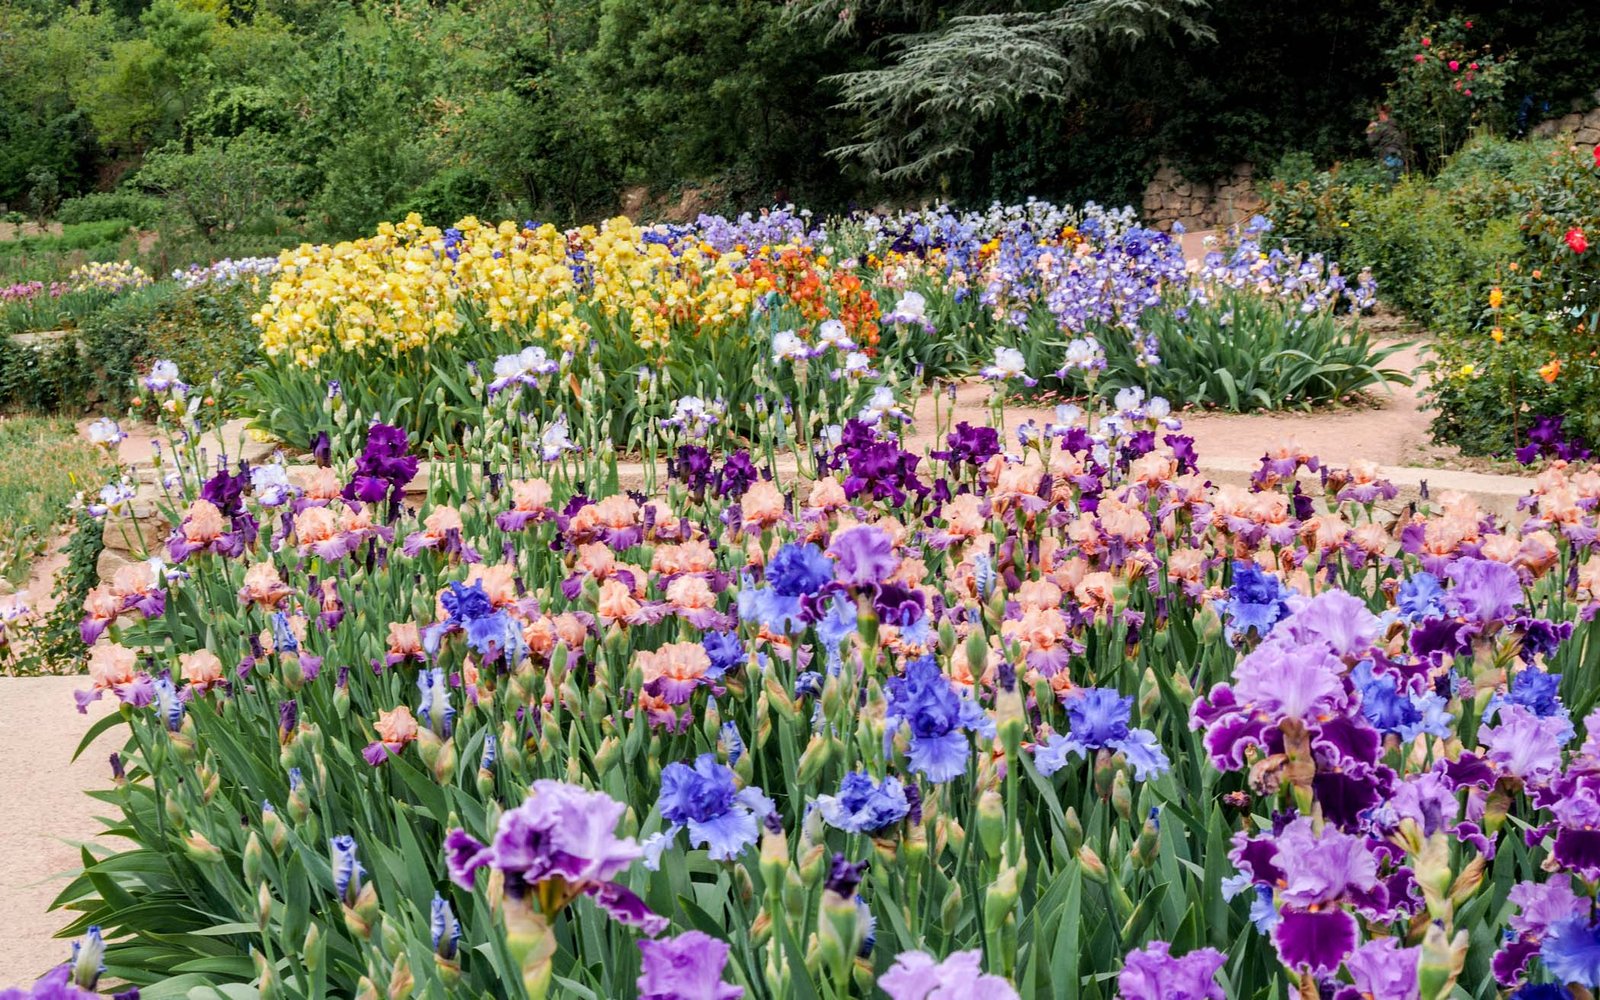
Gardeners looking for vibrant iris blossoms recognize spring as a vital season. Irises boast eye-catching flowers, making them popular garden choices with their remarkable colors and distinct structures. The key to impressive blossoms is giving irises suitable attention during the spring months. As irises awaken from their winter rest and start their growth cycle, spring presents an ideal window for care. By taking a few essential steps, one can lay the foundation for a magnificent iris display.

Understanding the Importance of Spring Maintenance for Irises
Spring maintenance is crucial for irises because it sets the foundation for their growth and flowering.
Iris growth and flower production rely on spring upkeep. Irises need focused attention during this period to obtain the required nutrients, room, and environmental conditions for thriving. Averting issues like dense growth, insufficient nutrients, and bug invasion, all detrimental to blossom quality, is aided via appropriate maintenance. Understanding the significance of these actions allows gardeners to proactively promote iris health and optimize their potential for blooming.

Preparing Your Garden for Irises: Essential Steps
Before focusing on individual plants, it’s important to prepare the entire garden area where your irises will grow. This involves clearing away debris, ensuring the soil is in good condition, and planning for any necessary changes to the garden layout. By creating an optimal environment, you give your irises the best chance to flourish. This preparation also includes checking for any potential pest issues and ensuring that the garden receives adequate sunlight and water.
Prior to attending to specific irises, it’s important to ready their entire growing space. This includes clearing debris, guaranteeing ideal soil conditions, and planning any possible garden modifications. Establishing a prime atmosphere gives your irises the strongest chance of succeeding. Examining possible pest concerns, and verifying sufficient sunlight and water exposure are also components of this preparatory stage.
Assessing Soil Conditions for Optimal Iris Growth
Irises thrive in well-drained, fertile soil. Begin by testing your soil’s pH level, which should ideally be between 6.0 and 7.0. If your soil is too acidic or alkaline, consider amending it with lime or sulfur to adjust the pH. Additionally, enrich the soil with organic matter, such as compost or well-rotted manure, to improve its fertility and structure. Good soil conditions are essential for healthy root development and vibrant blooms.
To maximize iris expansion, evaluate the soil quality. Irises prosper in rich soil that drains well. Initially, evaluate the soil pH, ideally aiming for a spectrum from 6.0-7.0. Modify acidic or alkaline soil by utilizing lime or sulfur for pH correction. Bolster fertility and texture through enhanced organic components, like aged manure or compost. For strong roots and bright flowers, healthy soil is crucial.
Ensuring Proper Drainage to Prevent Root Rot
Irises are susceptible to root rot if they sit in waterlogged soil. To ensure proper drainage, consider planting irises in raised beds or on slopes. If your garden has heavy clay soil, amend it with sand or gravel to improve drainage. Avoid planting irises in low-lying areas where water tends to accumulate. Proper drainage is crucial to prevent root rot and promote healthy growth.
Root rot can develop if irises are surrounded by standing water. Make sure they have appropriate drainage by considering planting on slopes or in elevated beds. Clay-rich gardens need amendments of gravel or sand to boost drainage. Avoid positioning irises in basins or swales which tend to collect water. To encourage plant growth and prevent rot, adequate drainage is necessary.
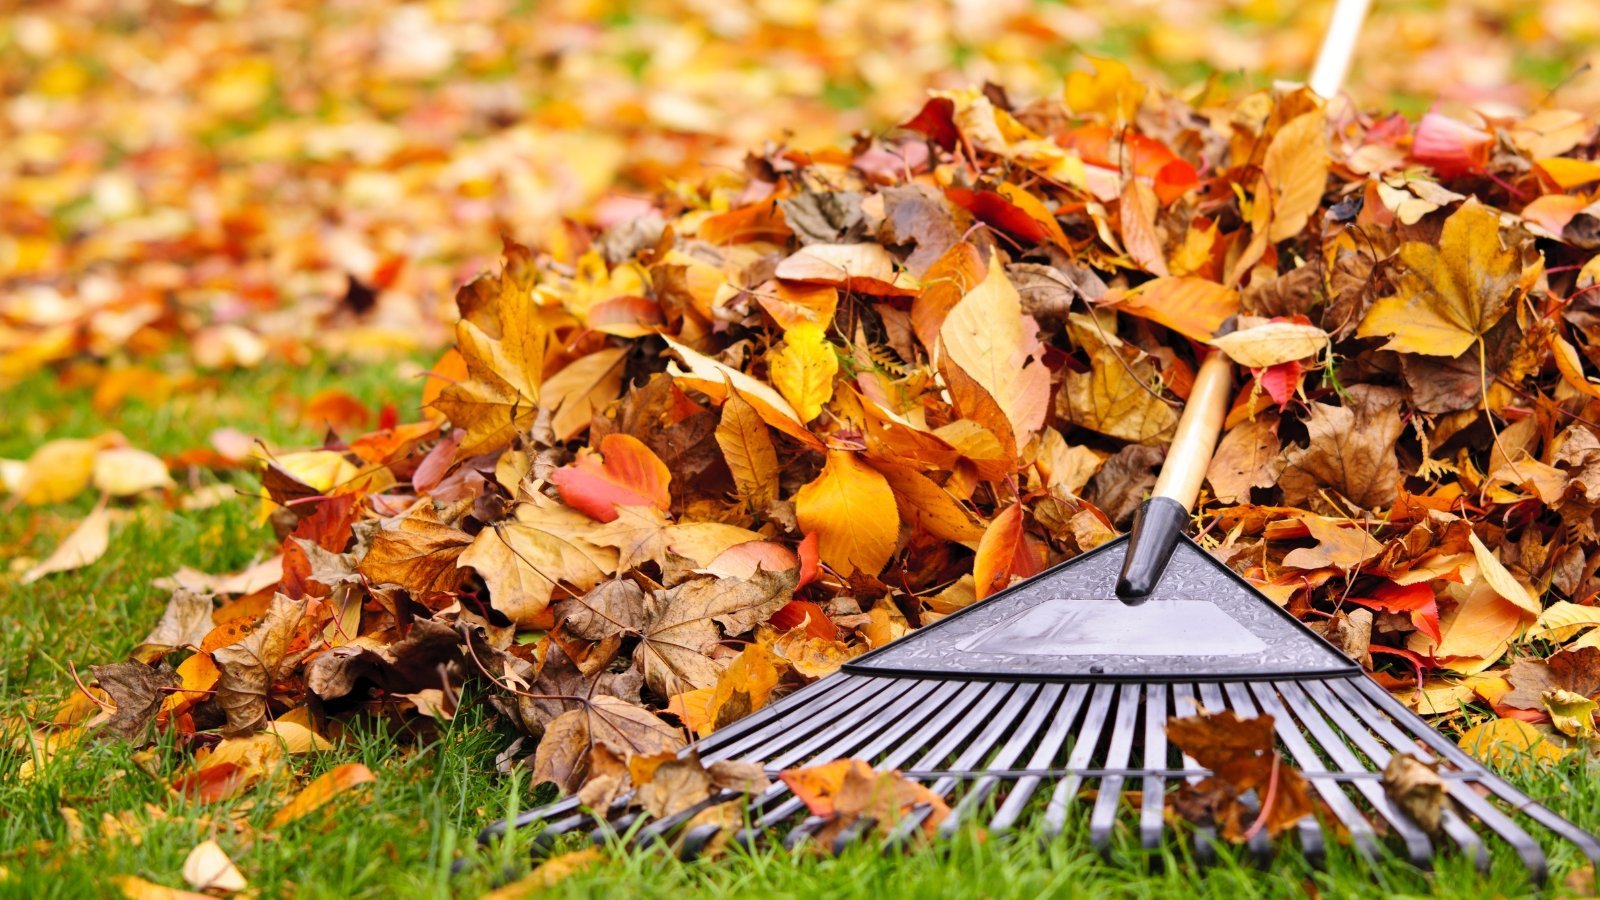
Pruning and Cleaning Up Last Year’s Foliage
In early spring, remove any dead or damaged leaves from your irises to encourage new growth. Cut back the foliage to about 6 inches above the rhizome, being careful not to damage the plant’s base. This cleanup helps prevent diseases and pests from overwintering in the old foliage and allows sunlight to reach the new shoots.
Promote growth by removing broken or dead iris leaves in the early spring season. Remember to avoid damaging the plant base as you trim the leaves down to roughly six inches above the rhizome. By eliminating pests and disorders, and allowing sunshine to hit new sprouts, clearing up is beneficial.
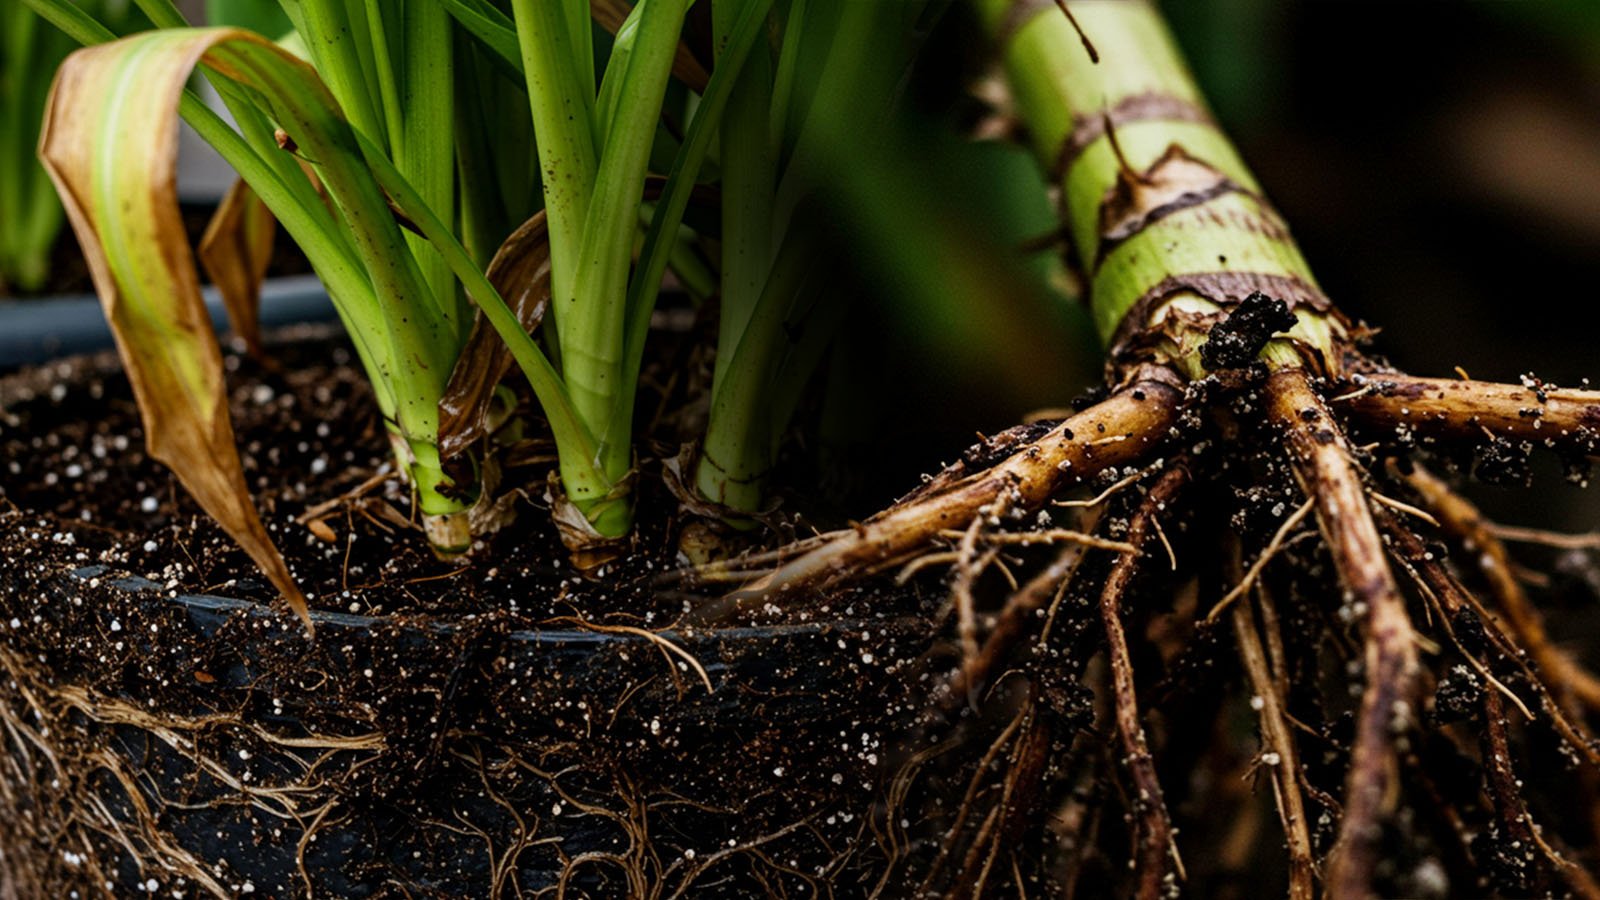
Dividing Overcrowded Clumps for Healthier Blooms
Irises can become overcrowded over time, leading to reduced blooming. Every three to five years, divide the clumps to ensure each plant has enough space to grow. Dig up the rhizomes and separate them, discarding any that are diseased or damaged. Replant the healthy rhizomes with adequate spacing to promote air circulation and prevent competition for nutrients.
Over time, irises can grow too close, causing flowers to decrease. Every three to five years, individual plants will prosper with the division of clumps. Dig up the rhizomes, separate each one, and toss out the diseased ones. Prevent competition between plants with adequate spacing by replanting healthy rhizomes to ensure correct air flow.
:strip_icc()/bhg-dividing-perennials-AVHjfsJraZI846s6h88rTb-33d2296ac9434f6e89553e81e06612d1.jpg)
Fertilizing Irises: Choosing the Right Nutrients
Irises benefit from a balanced fertilizer applied in early spring. Choose a fertilizer with a ratio of 10-10-10 or 5-10-10, which provides essential nutrients without excessive nitrogen that can lead to lush foliage at the expense of blooms. Apply the fertilizer around the base of the plants, avoiding direct contact with the rhizomes, and water it in well.
Early spring application of a balanced fertilizer can aid irises. Excess nitrogen can lead to excessive foliage over flowering; to prevent this, use a fertilizer ratio of either 5-10-10 or 10-10-10. After application over the plant base and preventing rhizome contact, water the fertilizer.
![Best Fertilizers for Irises – A Buyers Guide [2025]](https://seedtoflowers.com/wp-content/uploads/2025/10/got-irises-12-critical-things-you-must-do-to-this-spring-for-stunning-blooms-this-year-68e14413664a1.webp)
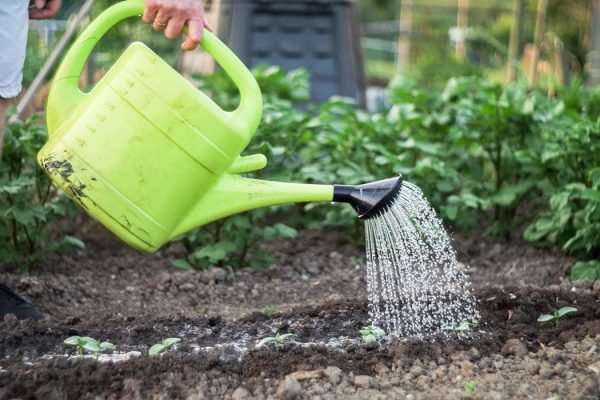
Watering Techniques: How Much and How Often
While irises are drought-tolerant, they still require regular watering during their active growth period. Water deeply once a week, ensuring the soil is moist but not waterlogged. Adjust your watering schedule based on rainfall and temperature, as overwatering can lead to root rot. Consistent moisture is key to supporting healthy growth and flowering.
Irises, though drought-resistant, necessitate regular watering through their lively developing stages. Ensure soil is wet, but not waterlogged, via deep once-weekly watering. Too much watering can cause root rot; regulate waterings depending on temperature and rainfall. Consistent moisture aids healthy flowers and growth.
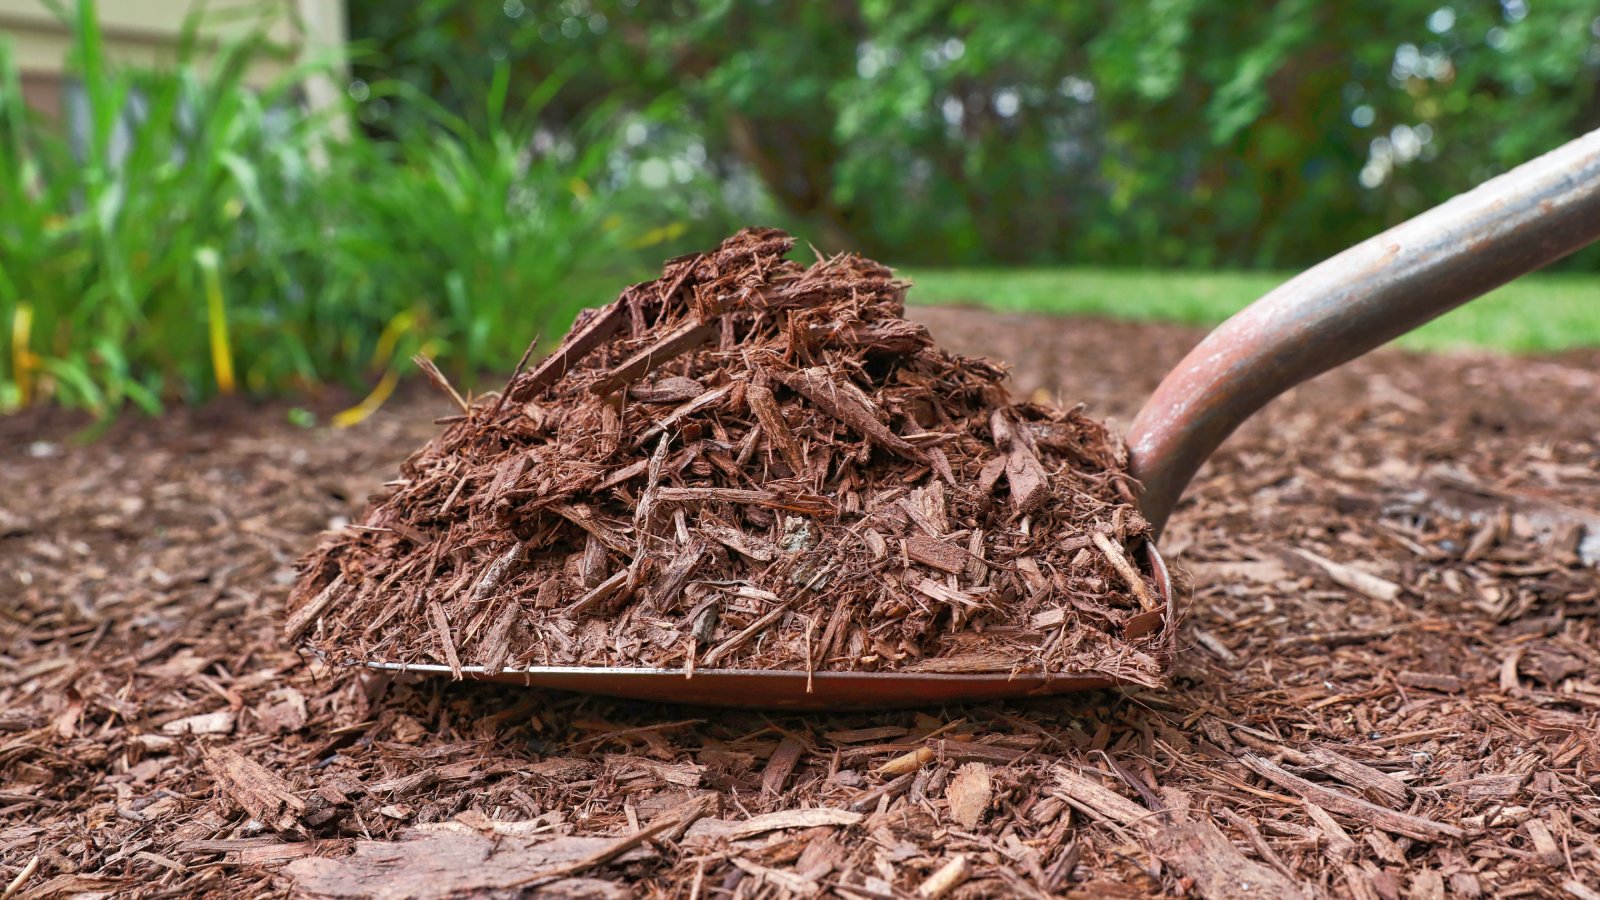
Mulching: Benefits and Best Practices
Mulching around irises helps retain soil moisture, suppress weeds, and regulate soil temperature. Use a light layer of organic mulch, such as shredded bark or straw, being careful not to cover the rhizomes, as this can lead to rot. Mulching also adds organic matter to the soil as it breaks down, improving soil health over time.
Mulches that surround irises aid in controlling soil temperature, limiting weeds, and retaining moisture levels. Careful not to cover rhizomes, use a light organic coating mulch such as straw or shredded bark, or else they may rot. Also, mulches decompose over time and enrich the soil.
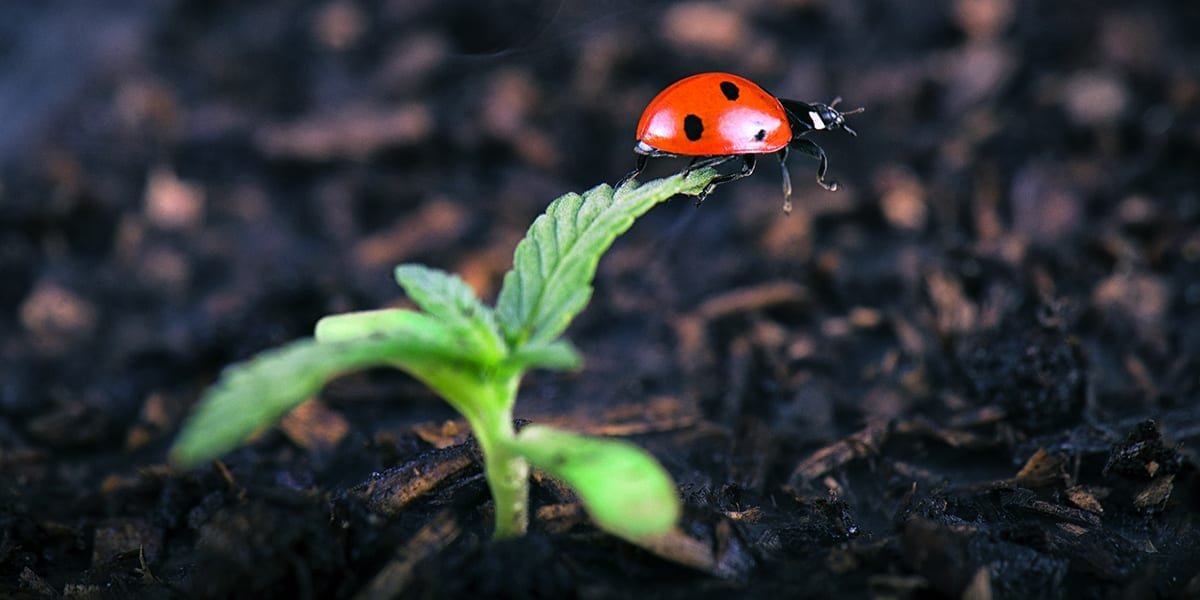
Pest and Disease Control: Prevention and Treatment
Common pests that affect irises include iris borers and aphids. Regularly inspect your plants for signs of infestation and treat them promptly with insecticidal soap or neem oil. To prevent diseases such as leaf spot and rust, ensure good air circulation around your plants and avoid overhead watering. Remove any infected foliage immediately to prevent the spread of disease.
Iris borers and aphids are typical pests of irises. Frequently check plants for infestations, promptly handling them with neem oil or insecticidal soaps. Prevent overhead irrigation while encouraging ventilation to aid leaf spot and rust prevention. Disease spread needs to be avoided by quickly removing rotting leaves.
Supporting Iris Stalks: Methods to Prevent Toppling
Tall iris varieties may require staking to prevent their flower stalks from toppling over in strong winds or heavy rain. Use bamboo stakes or metal supports, and gently tie the stalks with soft twine or plant ties. This support helps keep the blooms upright and prevents damage to the plant.
To keep tall iris blooms upright in intense weather, the flower stems may require support. Soft plant ties or twine can be used to lightly tie the plants to metal or bamboo stakes. This support avoids plant damage and ensures blooms stand tall.
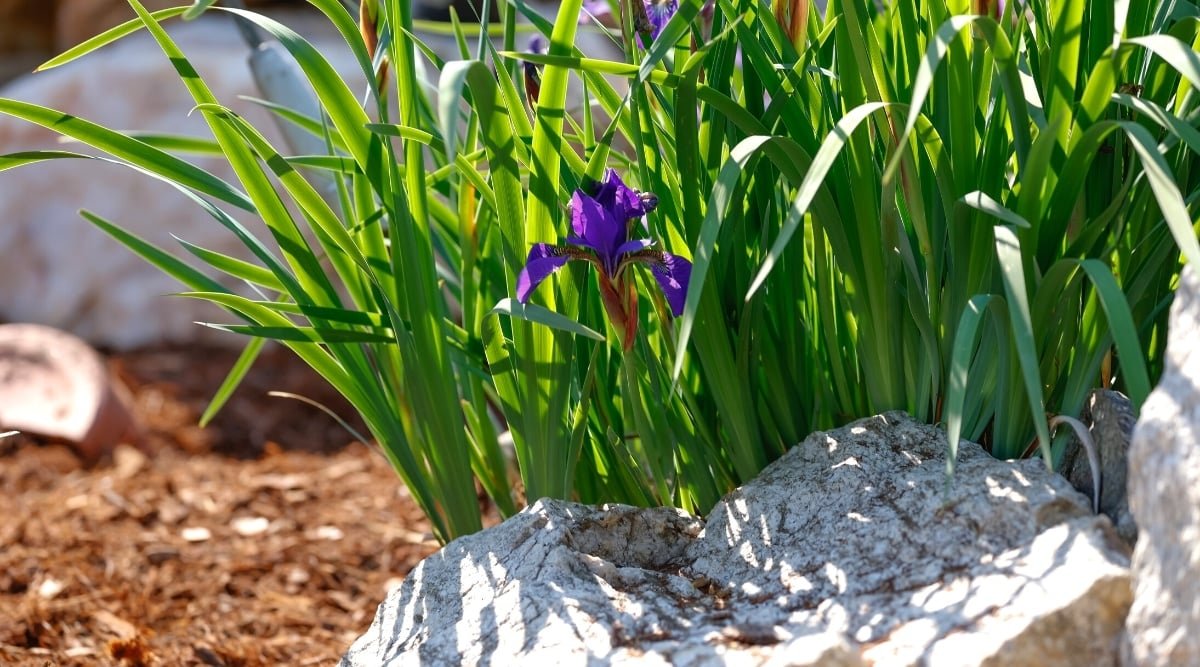
Monitoring Sunlight Exposure for Optimal Growth
Irises require full sun to bloom their best, ideally receiving at least six hours of direct sunlight per day. Monitor your garden’s sunlight exposure and consider relocating irises that are in too much shade. Adequate sunlight is essential for photosynthesis and the production of vibrant flowers.
Irises thrive and flower when in full sun, ideally receiving at least six hours of sunlight each day. Track sunlight exposure and move irises if they are shaded too often. To get bright flowers and photosynthesis, irises require enough sun.

Companion Planting: Enhancing Iris Beauty and Health
Companion planting can enhance the beauty and health of your irises. Consider planting them alongside other perennials such as daylilies, peonies, or lavender, which can complement their colors and provide additional interest in the garden. Companion plants can also help deter pests and improve soil health.
Planting other species with your irises can improve their wellness and beauty. Examples of complimentary flowers are lavender, daylilies, or peonies, all of which enrich garden diversity and go nicely with irises. In order to promote soil health while dissuading pests, employ companion plants.

Avoiding Common Mistakes in Iris Care
Common mistakes in iris care include overwatering, planting too deeply, and neglecting to divide overcrowded clumps. Avoid these pitfalls by following best practices for watering, planting, and maintenance. Educate yourself about the specific needs of your iris varieties to provide them with the best care possible.
Common errors with irises include over irrigation, neglecting to remove tightly clumped plants, and deeply planting them. Observing the optimal routine while planting, watering, cleaning, etc., will prevent these. Learn about the specific requirements for the irises you’re working with in order to give them the best treatment available.
Conclusion: Achieving Stunning Iris Blooms Through Proper Spring Care
By following these 12 critical steps, you can ensure your irises receive the care they need to produce stunning blooms. Spring is the perfect time to focus on their maintenance, setting the stage for a beautiful display in your garden. With proper attention to soil, water, sunlight, and pest control, your irises will reward you with vibrant, healthy flowers that enhance the beauty of your outdoor space.
The 12 important procedures above will allow you to provide proper care to your irises, allowing them to generate striking blooms. It’s best to concentrate on maintenance in the spring, so the ideal location will be ready for eye-catching iris blooms. Irises that have the proper water, sunshine, and soil along with protection from pests will offer vibrant, robust flowers that heighten the aesthetic charm of open spaces.
