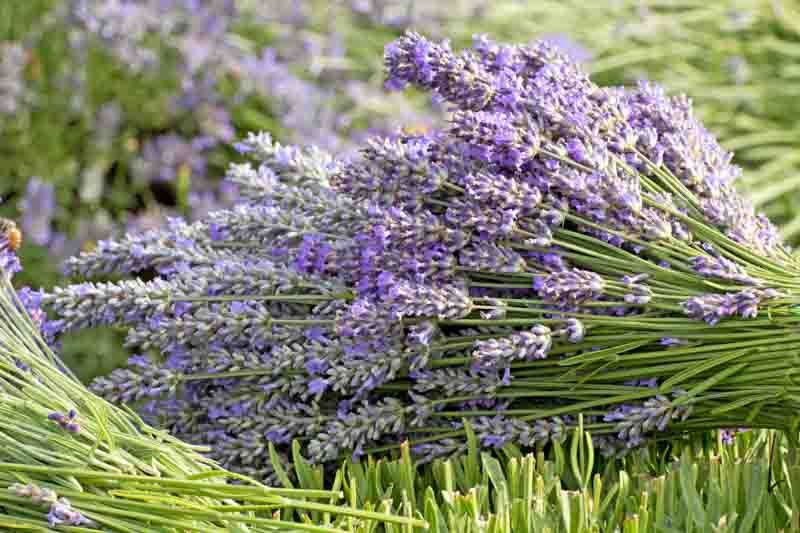
Lavender, deeply cherished for its tranquilizing scent and vibrant violet flowers, graces gardens all over the world. Its versatility shines through its applications in cuisine, crafts, and even medicine. While lavender plants are readily available from nurseries, an affordable and gratifying method to expand your garden is by cultivating lavender from cuttings.
Multiplying lavender plants from cuttings proves not only economical but also guarantees that you possess a genetic replica of the parent plant, thereby preserving its distinctive attributes. This manual will guide you through the procedure, simplifying it for even beginning gardeners to effectively cultivate lavender from cuttings.
Understanding Lavender: A Brief Overview
Lavender (Lavandula) comprises a genus of 47 recognized flowering plant species within the mint family, Lamiaceae. Originating from the Old World, it spans regions from Cape Verde and the Canary Islands, across Europe to northern and eastern Africa, the Mediterranean, southwest Asia, and extends to southeast India. Lavandula angustifolia, commonly called English lavender, represents the most frequently cultivated species.
For optimal growth, lavender needs well-drained soil and thrives under full sunlight. Being a drought-tolerant plant, it is perfectly suited for areas experiencing hot, arid summers. Both humans and pollinators such as bees and butterflies are drawn to the plant’s fragrant foliage and blossoms.

Why Grow Lavender from Cuttings?
Numerous benefits accompany propagating lavender via cuttings. Firstly, it offers a cost-effective means of propagation, enabling you to expand your garden without the added expense of purchasing new plants. Secondly, plants grown from cuttings inherit the precise genetic makeup of the parent plant, thus preserving desired features such as flower hue and aroma.
Furthermore, utilizing cuttings for propagation can yield faster results than starting from seeds, which can exhibit prolonged germination periods and may not consistently produce plants that mirror the parent’s characteristics. With cuttings, anticipate observing fresh growth within a matter of weeks.
Choosing the Right Time for Propagation
The ideal timeframe for procuring lavender cuttings falls within the active growing season, usually extending from late spring through early summer. During this period, the plant exhibits vigorous growth, amplifying the likelihood of successful root development in the cuttings. It’s advisable to refrain from taking cuttings during the dormant winter months.
It’s crucial to pick a day characterized by mild weather, avoiding excessively hot conditions that might stress the cuttings. Early morning often presents the most favorable time to harvest cuttings, as the plant remains well-hydrated and less prone to wilting.

Selecting the Ideal Lavender Cuttings
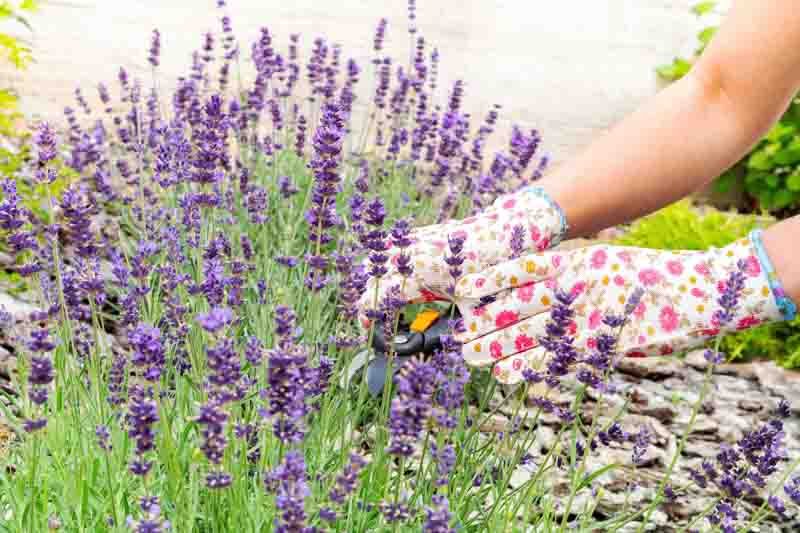
When choosing cuttings, seek out robust, non-flowering stems approximately 4 to 6 inches in length. Ideally, the stems should possess a semi-hardwood texture, signifying they are neither excessively tender nor overly woody. This particular growth stage maximizes the chances of successful rooting.
Ensure the cuttings originate from a thriving parent plant, devoid of any indications of disease or pest infestations. Steer clear of harvesting cuttings from flowering stems, as the plant’s energy will be directed towards flower production rather than allocating resources to root development.

Preparing Your Tools and Materials
Before commencing, compile all necessary instruments and resources. Equip yourself with a sharp pair of pruning clippers or scissors, a pristine container for holding water, rooting hormone, and small pots or trays filled with potting mix. Sterilizing your tools is of utmost importance to avert the dissemination of diseases.
Rooting hormone, while not indispensable, significantly elevates the probability of successful rooting. It comes in powder, liquid, or gel variants and can be easily procured from most garden centers.
Step-by-Step Guide to Taking Cuttings
Initiate the process by utilizing your sterilized pruning shears to sever a 4 to 6-inch segment from the lavender stem, making the cut just beneath a leaf node. Carefully remove the leaves from the lower portion of the cutting to reveal the stem.
If using rooting hormone, immerse the cut end of the stem into it and gently tap off any surplus. This step bolsters root formation and augments the overall success rate of your cuttings.
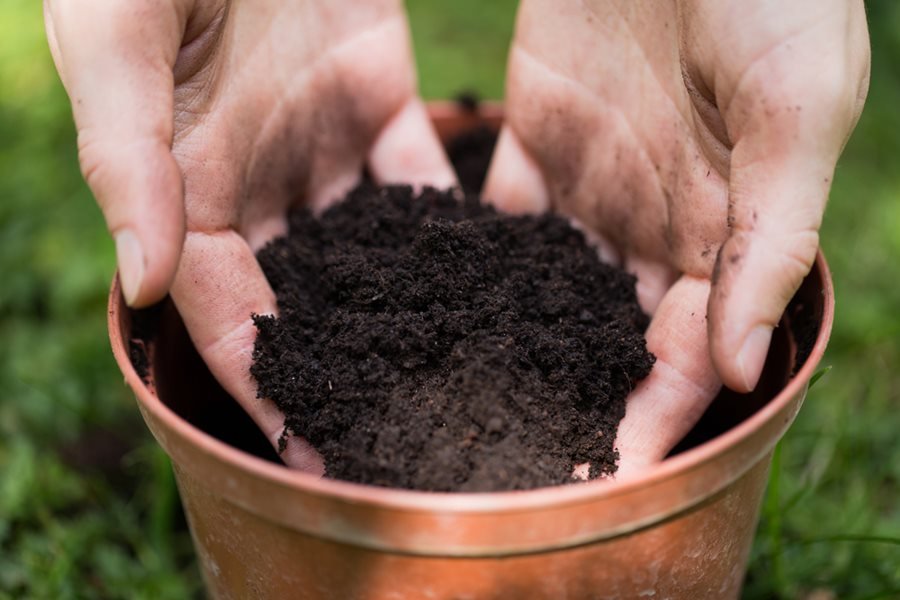
Preparing the Potting Mix
Lavender demands soil with exceptional drainage to flourish. Formulate a potting mix by uniformly combining perlite, coarse sand, and peat moss. This particular blend ensures the requisite drainage and aeration essential for the cuttings.
Introduce the potting mix into compact pots or trays, leaving approximately an inch of space at the top. Lightly dampen the mix with water, guaranteeing uniform moisture without causing waterlogging.
Planting the Lavender Cuttings
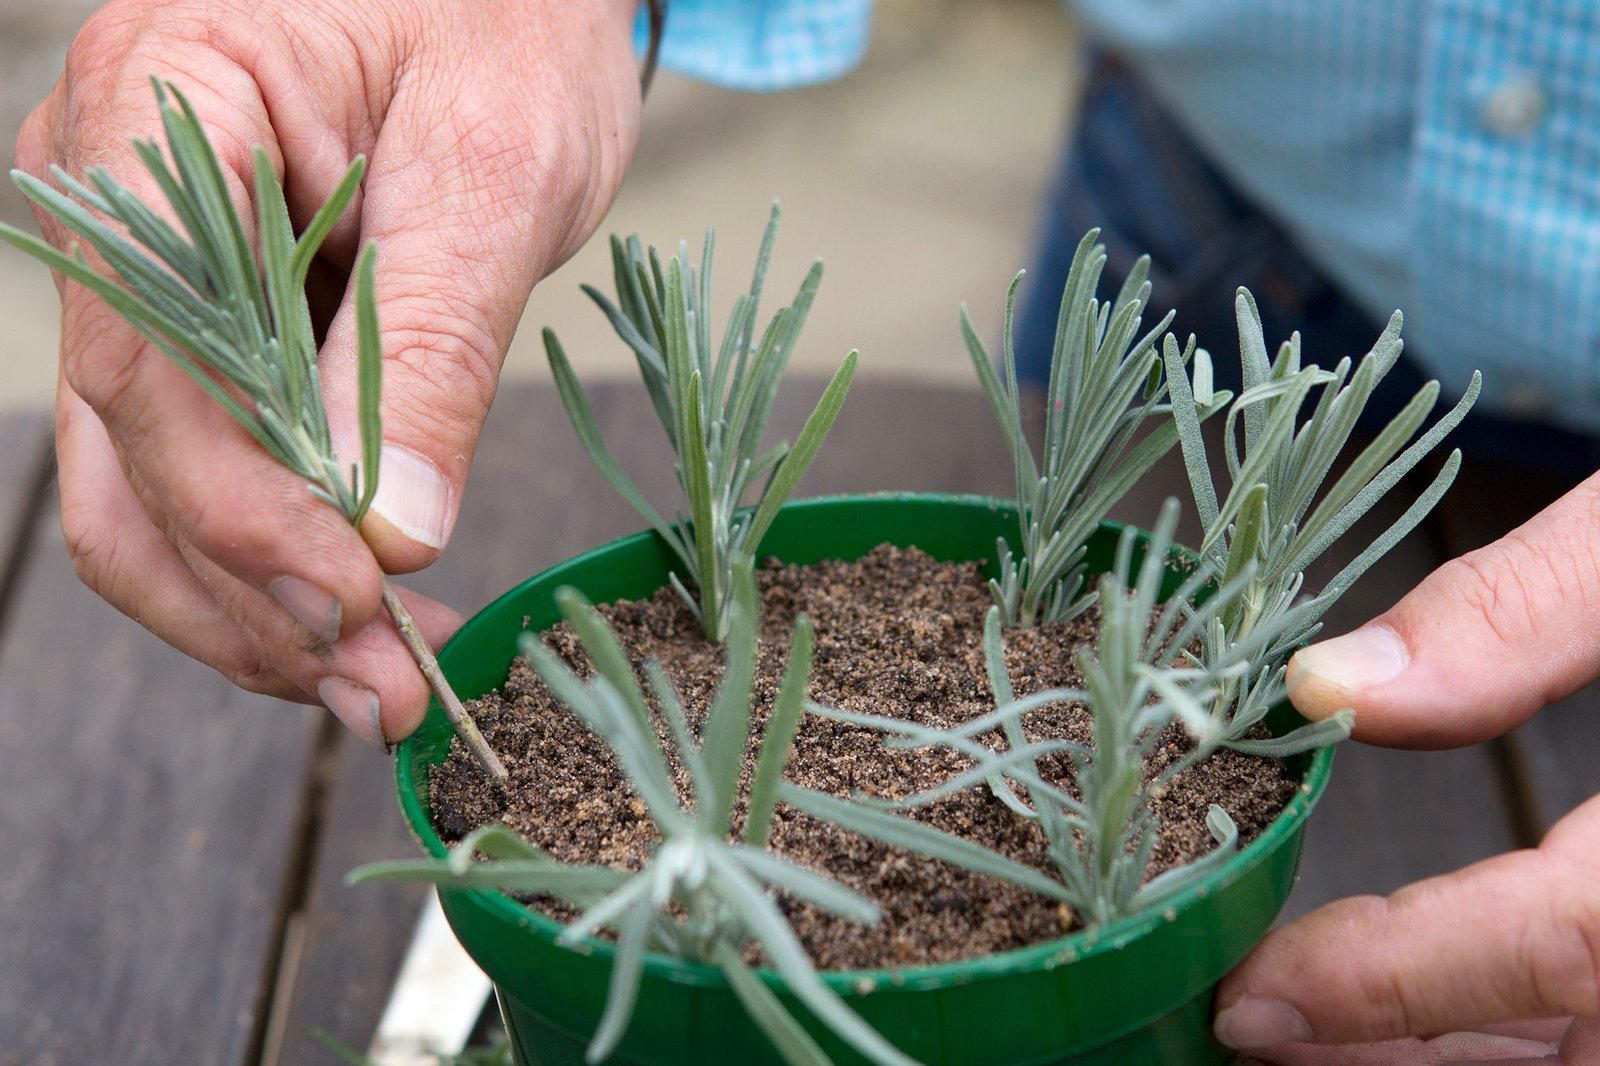
Employing a pencil or your finger, create a small cavity in the potting mix for each cutting. Position the cutting within the hole, ensuring that a minimum of two leaf nodes remain submerged in the soil. Delicately compress the soil encircling the base of the cutting to secure it in place.
When planting in a tray, space the cuttings at least 2 inches apart to facilitate adequate air circulation and mitigate the risk of mold proliferation.
:max_bytes(150000):strip_icc()/SPR-how-to-propagate-lavender-7550820-01-a212dd497cce4868958f3677e119af19.jpg)
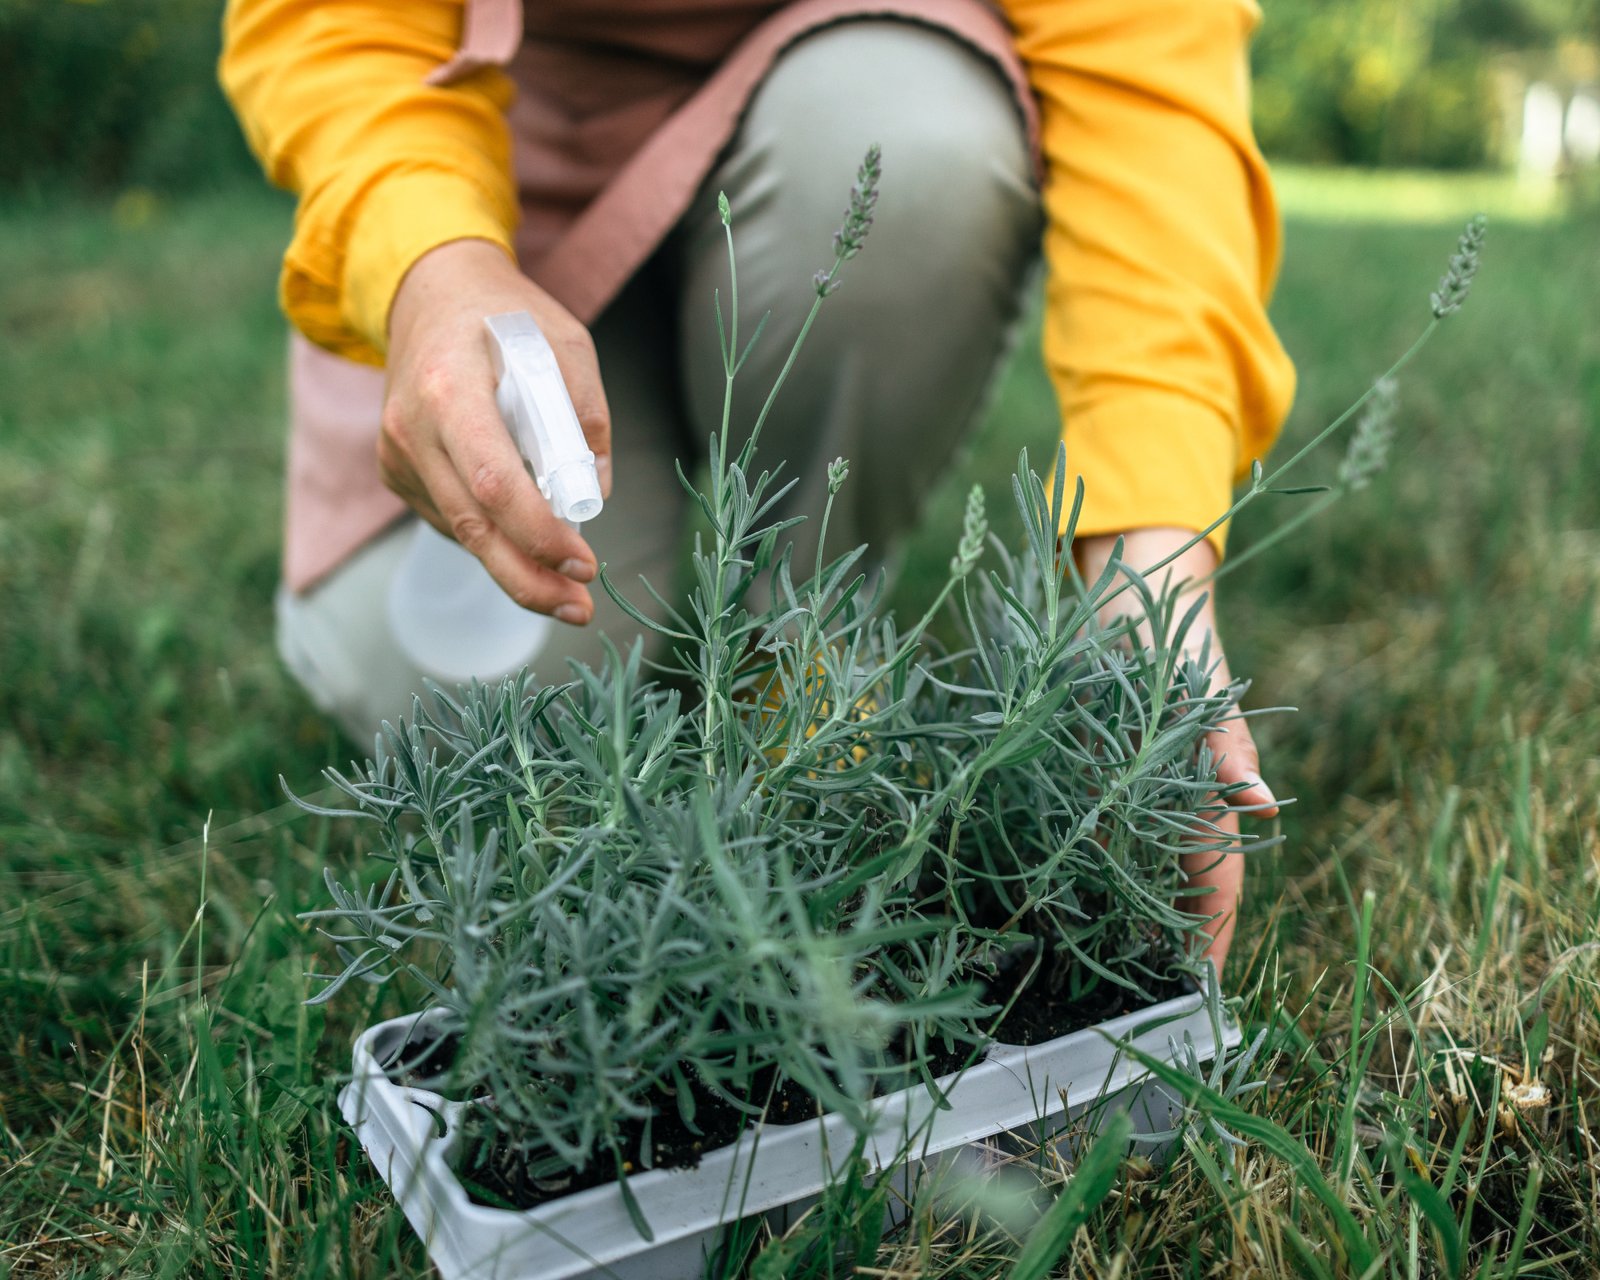
Ensuring Optimal Growing Conditions
Position the pots or trays in a balmy, brightly lit area, shielded from direct sunlight exposure. A temperature hovering around 70°F (21°C) serves as the benchmark for successful root development in lavender cuttings. Enclose the cuttings within a plastic dome or transparent plastic bag to foster a humid microclimate, thereby impeding desiccation.
Conduct regular assessments of the cuttings and apply misting with water should the potting mix begin to exhibit dryness. Exercise caution to prevent overwatering, as this can precipitate rot.
Caring for Your Lavender Cuttings
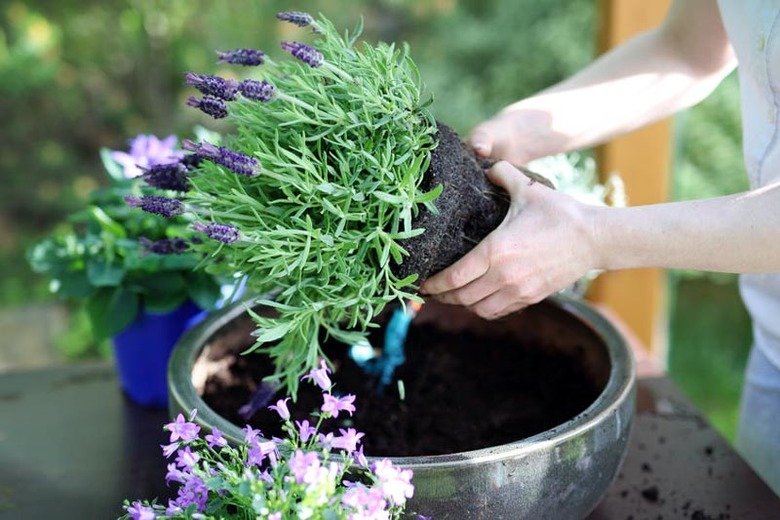
Following a period of several weeks, subtly tug on the cuttings to discern any resistance, indicative of root establishment. Upon the cuttings developing a robust root system, they can transition to larger pots or be directly transplanted into the garden.
Sustain diligent care for the emerging plants by delivering ample sunlight and irrigation. Lavender gravitates towards slightly dry conditions between watering episodes, emphasizing the importance of averting overwatering.

Troubleshooting Common Issues
In instances of unsuccessful rooting, verify that the potting mix maintains a balance between moisture levels, avoiding both excessive wetness and dryness. Confirm that the cuttings are shielded from direct sunlight, which can trigger wilting. Should mold or rot manifest, promptly eliminate the compromised cuttings and enhance air circulation.
Yellowing foliage may denote overwatering, whereas wilting could signify underwatering or exposure to excessive heat. Adapt your care regimen accordingly to rectify these concerns.
Conclusion
In summary, propagating lavender cuttings is a rewarding task that allows gardeners to expand their collections without incurring the costs of new plants. By choosing the right time for propagation, selecting healthy cuttings, and preparing suitable growing conditions, one can achieve successful results in establishing new lavender plants. Proper care, such as maintaining ideal moisture levels and ensuring adequate sunlight exposure, is crucial for nurturing the cuttings into thriving additions to your garden. With regular attention and troubleshooting any emerging issues, you’ll not only preserve the unique qualities of the parent plant but also enhance your gardening experience through the joys of propagation.
