The clematis plant is a widely adored climbing vine prized for its eye-catching blossoms and its ability to convert gardens into vividly colored and textured spaces. However, many gardeners struggle to achieve the desired abundant blooms and vigorous growth. The key to success is understanding clematis’ specific needs, along with providing proper care and support.
In this article, we will explore the essential steps to growing clematis on a trellis, ensuring that you avoid common pitfalls and enjoy a thriving plant. From selecting the right variety to mastering pruning techniques, we’ll cover everything you need to know to cultivate a spectacular clematis display.
In this article, we will explore necessary steps to cultivating clematis on a support structure, making certain to avoid typical mistakes and promoting a successful plant. Everything you need to create a beautiful clematis display, from selecting the appropriate variety to mastering pruning methods, will be covered.
Understanding Clematis: A Brief Overview
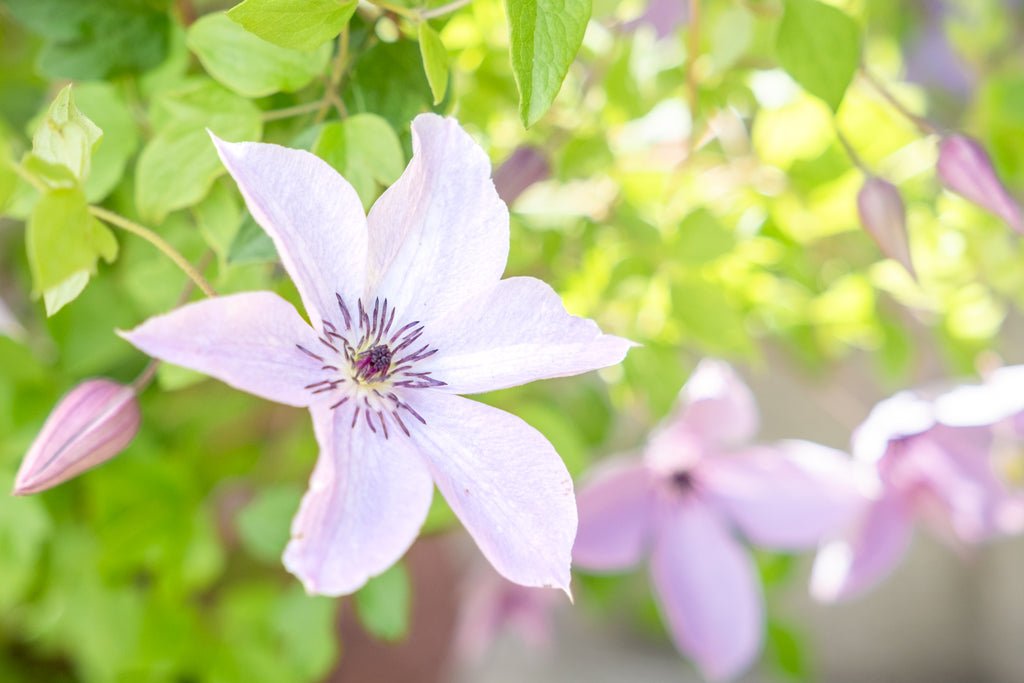
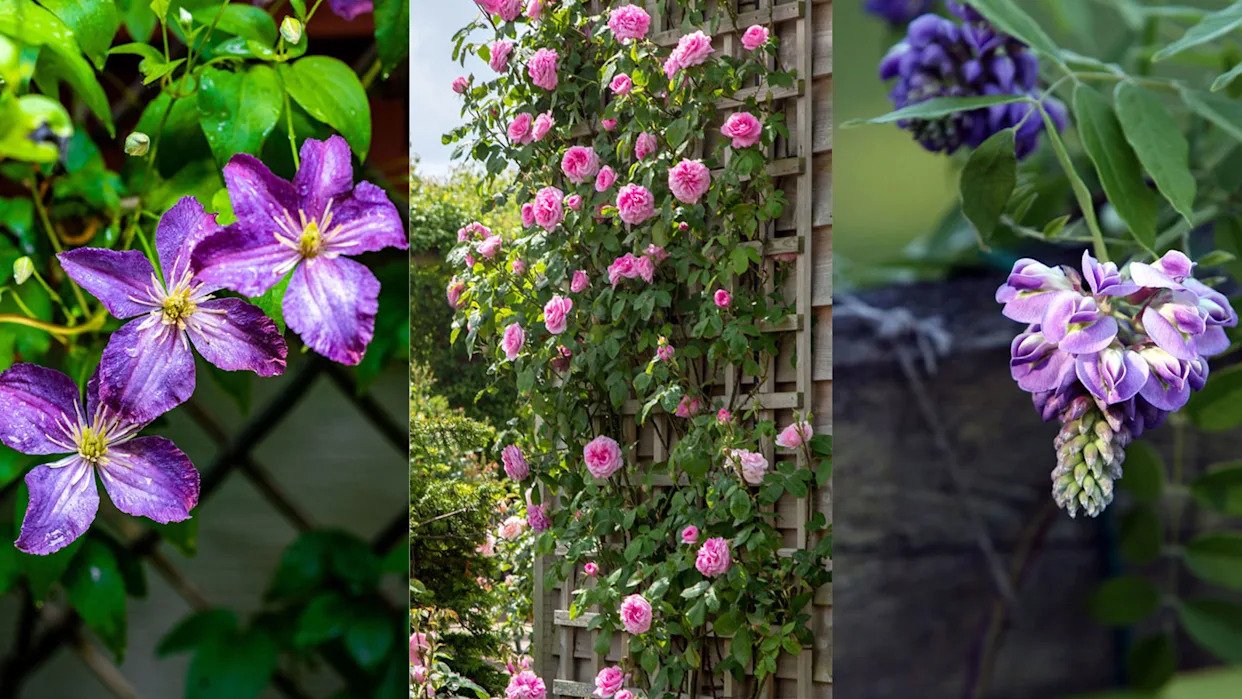
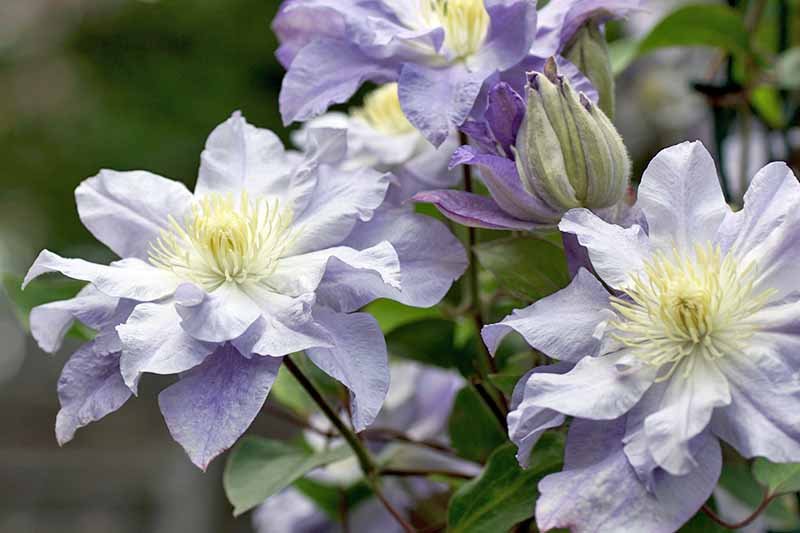
Clematis is a genus of about 300 species within the buttercup family, Ranunculaceae. These perennial climbers are cherished for their large, showy flowers that can range from a few inches to over a foot in diameter. The flowers come in a variety of colors, including purple, pink, white, and blue, making them a versatile choice for any garden.
Within the buttercup family, Ranunculaceae, Clematis encompasses approximately 300 species. These perennial climbing plants are prized for their vibrant, large flowers, varying in size from a few inches to over a foot across. Their varied color palette including blue, white, pink and purple, makes them suitable for any garden design.
Clematis plants are classified into three groups based on their blooming habits: Group 1 (early flowering), Group 2 (large-flowered hybrids), and Group 3 (late flowering). Understanding the group to which your clematis belongs is crucial for proper pruning and care. Most clematis varieties prefer well-drained soil with a neutral to slightly alkaline pH and thrive in full sun to partial shade.
Based on their flowering characteristics, clematis plants fall into three categories: Group 1 blooms earliest, Group 2 contains large-flowered hybrids, and Group 3 blooms latest. Correct pruning and care are rooted in knowing to which group your clematis belongs. Most clematis types flourish in well-drained soil with a pH that is neutral to slightly alkaline, doing best in full sun to partial shade.
Choosing the Right Clematis Variety for Your Trellis
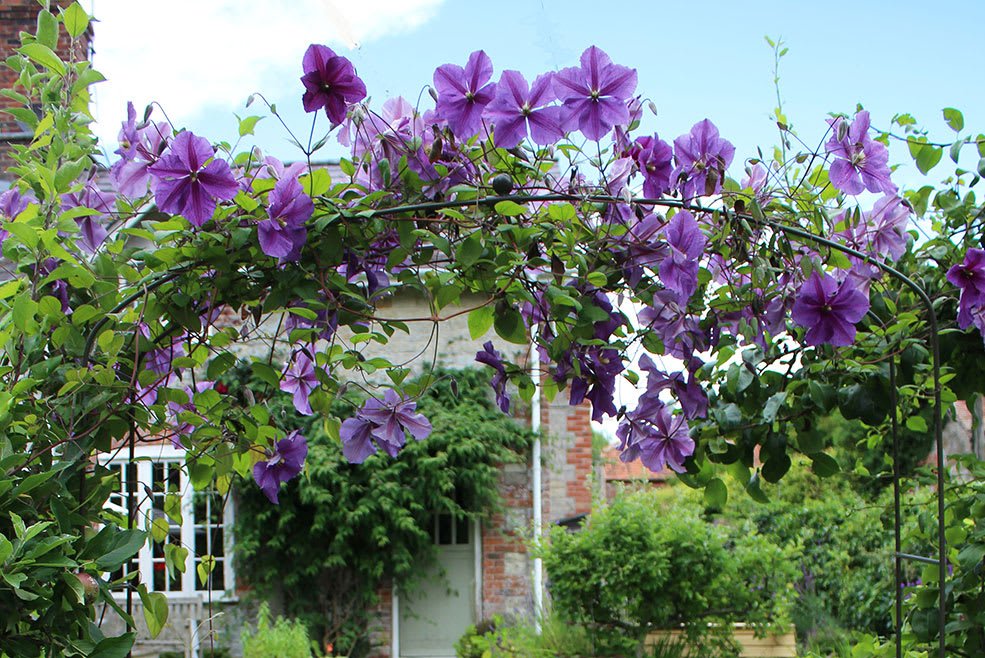
Selecting the right clematis variety is key to ensuring it thrives on your trellis. Consider the height and spread of the plant, as well as its blooming season. For a small trellis, opt for compact varieties like Clematis ‘Bijou’ or ‘Pixie’, which typically grow 2-3 feet tall. For larger trellises, vigorous growers like Clematis montana or Clematis ‘Jackmanii’ can reach heights of 10-20 feet.
To ensure that clematis flourishes on its trellis, selecting the appropriate variety is essential. Examine the plant’s potential mature height and width, as well as the time of the year it blooms. For a modest framework, choose small varieties such as ‘Bijou’ or ‘Pixie’ clematis, which typically reach heights of 2-3 feet. For larger support structures, select climbing varieties like Clematis montana or ‘Jackmanii,’ which can grow between 10-20 feet tall.
Additionally, think about the color and size of the blooms you desire. Clematis ‘Nelly Moser’ offers striking pink and white flowers, while Clematis ‘The President’ boasts deep purple blooms. Matching the variety to your trellis size and aesthetic preferences will help you achieve the best results.
Additionally, you might consider the flower color and size you want. The ‘Nelly Moser’ clematis offers striking white and pink flowers, and the ‘The President’ variety showcases deep purple blossoms. Matching your personal tastes and the clematis type to your trellis size will enable you to get the best results.

Selecting the Ideal Location for Clematis Growth
Clematis plants thrive in locations where they can receive at least six hours of sunlight per day. However, they prefer their roots to be cool and shaded, so planting them in a spot where the base is shaded by other plants or mulch is ideal. Ensure the soil is well-drained, as clematis dislikes waterlogged conditions.
Clematis grows best when it gets a minimum of six hours of sunlight daily. That noted, they prefer their roots to be cool and shaded, and so it’s ideal to position them where other plants or mulch will shade their base. Clematis does not like overly wet conditions, so make sure the soil is adequately drained.
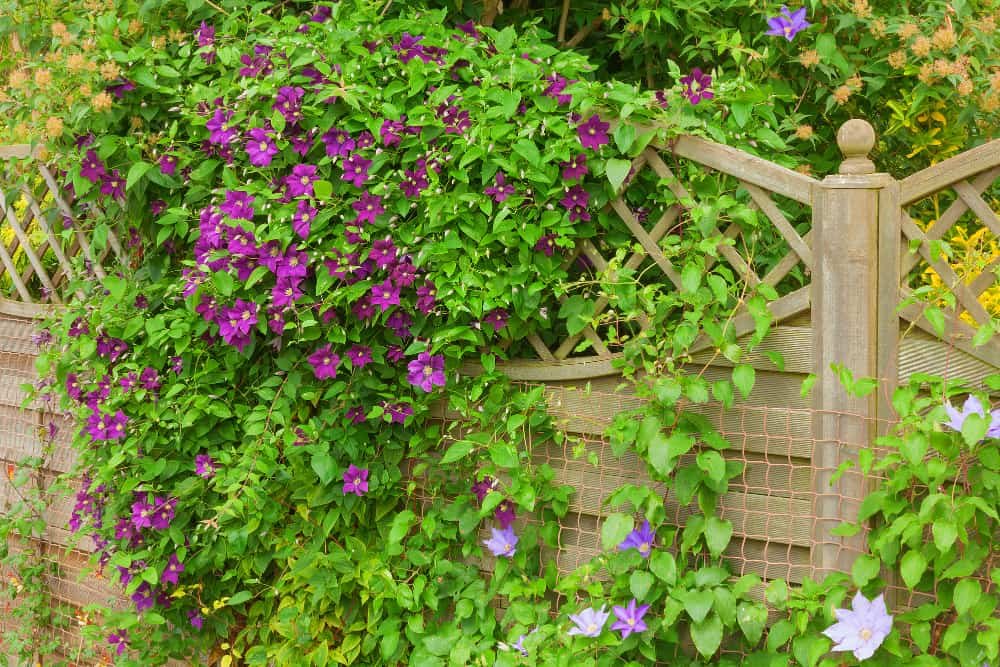
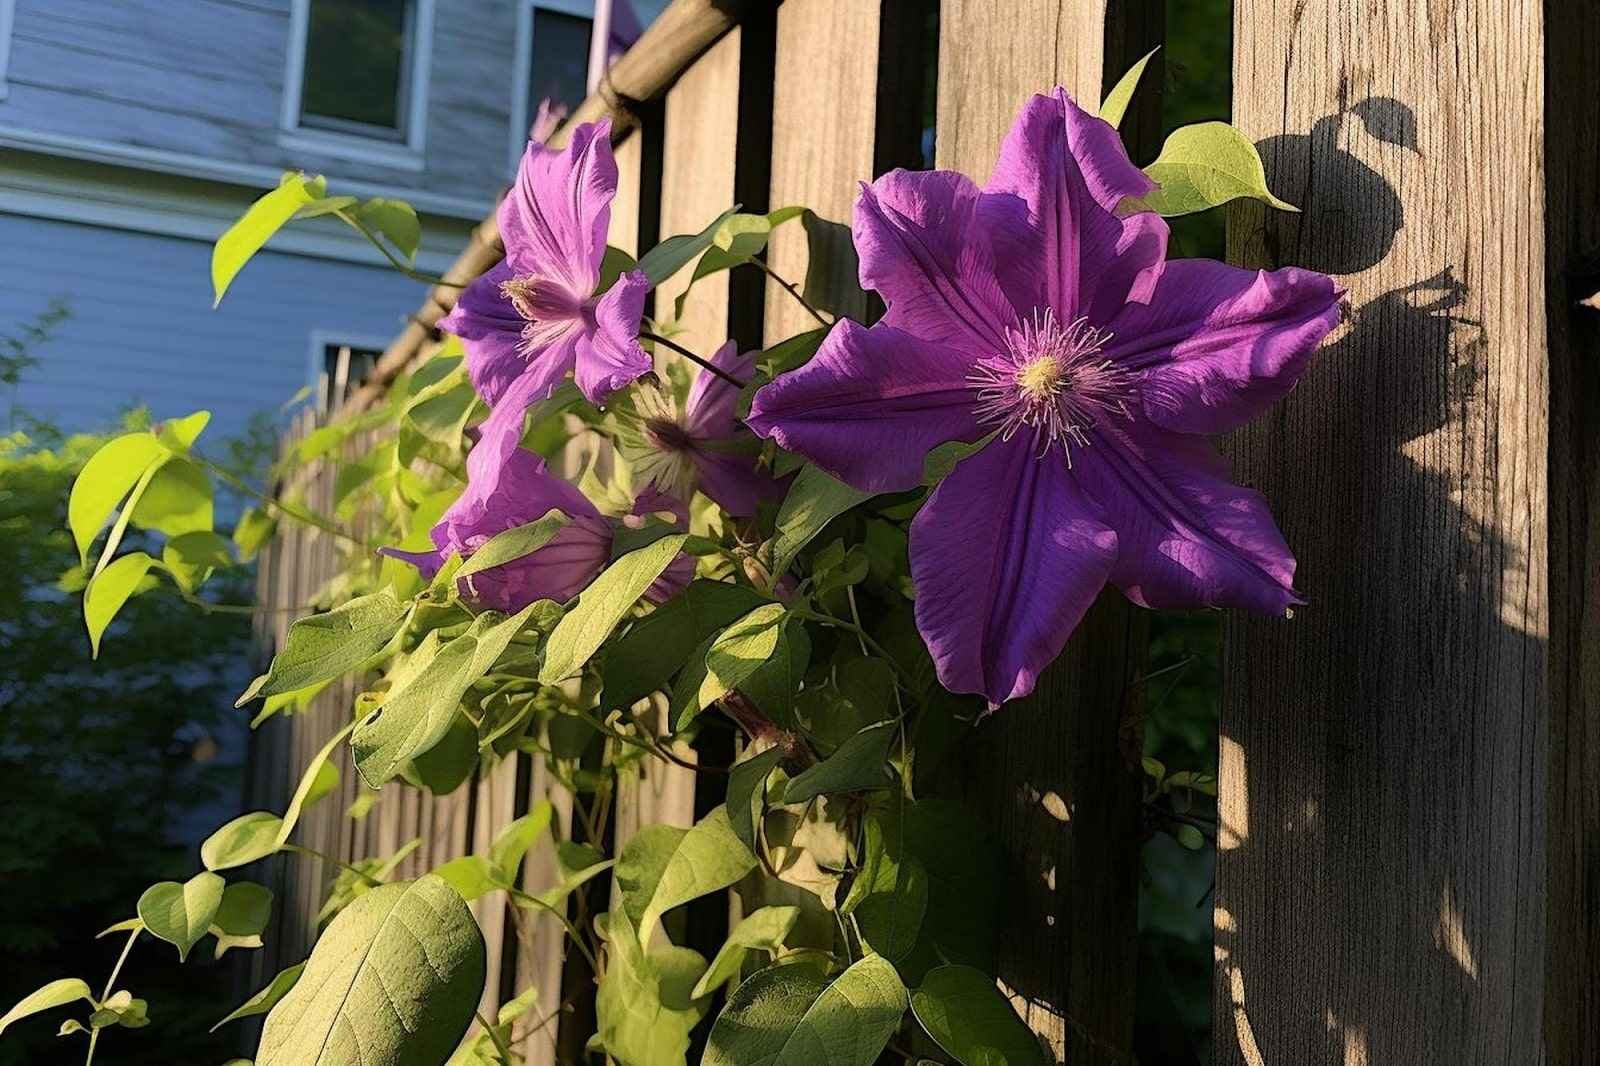
Position your trellis in a location that allows the clematis to climb freely without being obstructed by other structures or plants. If planting near a fence, ensure there’s enough space for air circulation to prevent fungal diseases.
Place your support structure in a location where other plants or structures will not hinder the clematis’ ability to climb freely. When planting it close to a fence, make sure there is adequate ventilation to deter fungal growth.
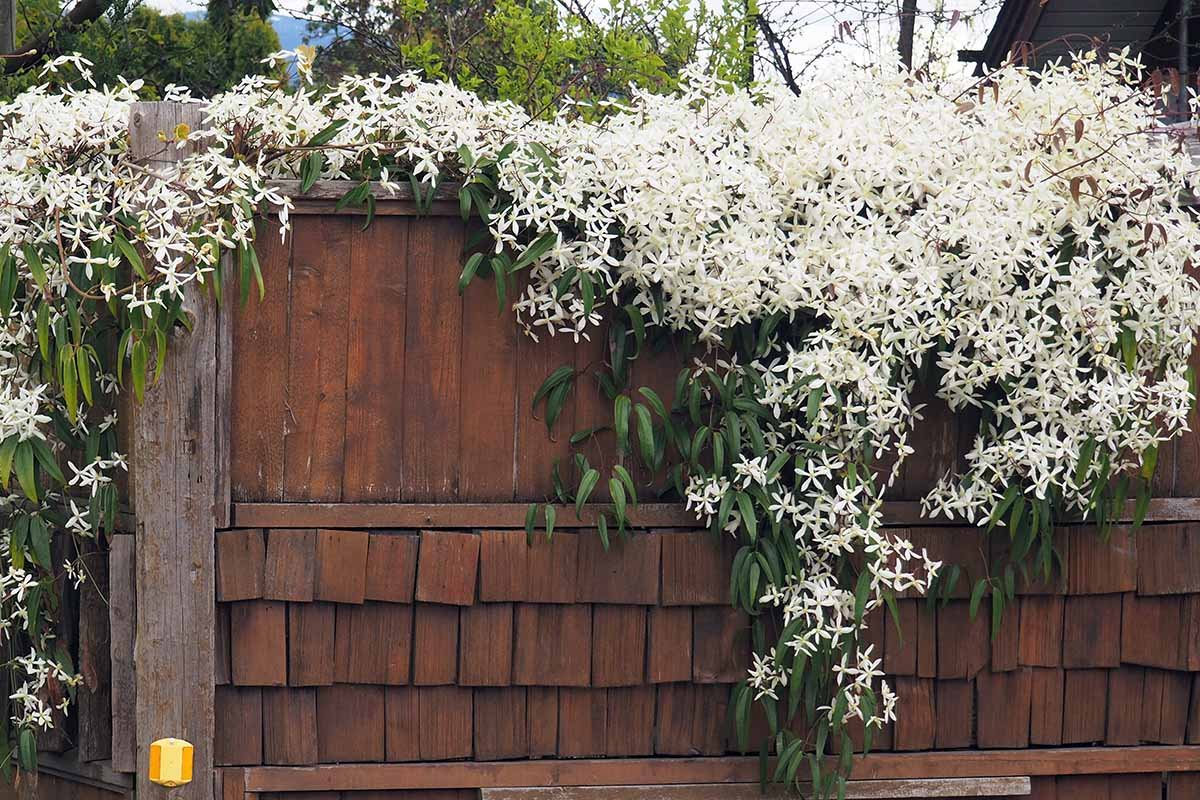
Preparing Your Wooden Picket Fence for Clematis
Before planting clematis near a wooden picket fence, ensure the fence is sturdy and in good condition. Clematis can become quite heavy when mature, so a strong support is essential. If the fence lacks adequate support for climbing, consider adding a wire mesh or additional trellis panels to provide more climbing surfaces.
Prior to planting clematis close to any wooden picket fence, make certain the fence is sturdy and in decent condition. It’s essential to have a strong support, because clematis can get quite heavy as it matures. Consider attaching wire mesh or extra trellis panels to provide additional climbing assistance if the fence doesn’t provide enough support for climbing.
Ensure the fence is free from peeling paint or wood treatments that could harm the plant. If necessary, sand and repaint the fence with a plant-safe finish before planting your clematis.
Make certain that the fence doesn’t have any wood treatments or flaking paint that could potentially harm the plant. Before planting clematis, sand and repaint the fence as needed, using a plant-safe coating.
Step-by-Step Guide: Planting Clematis Near a Picket Fence
Begin by digging a hole twice as wide and as deep as the clematis’s root ball. Amend the soil with compost to improve drainage and fertility. Position the plant so that the top of the root ball is 2-3 inches below the soil surface, which encourages new shoots to develop from the base.
Start by creating a hole that is double the width and depth of the root ball of the clematis. To promote drainage and fertility, enrich the existing soil with compost. Arrange the plant such that the root ball’s top is about 2-3 inches below the soil’s surface, which stimulates the development of new growth from the base.
Backfill the hole with soil and water thoroughly to settle the plant. Mulch around the base with organic material like bark chips or straw to keep the roots cool and moist. Ensure the clematis is planted at least 18 inches away from the fence to allow for air circulation and root expansion.
Following that, fill the hole and thoroughly water to settle the plant. To keep the roots cool and moist, mulch the base with organic material, such as straw or bark chips. To allow for proper root expansion and ventilation, be certain the clematis is planted about 18 inches away from the fence.
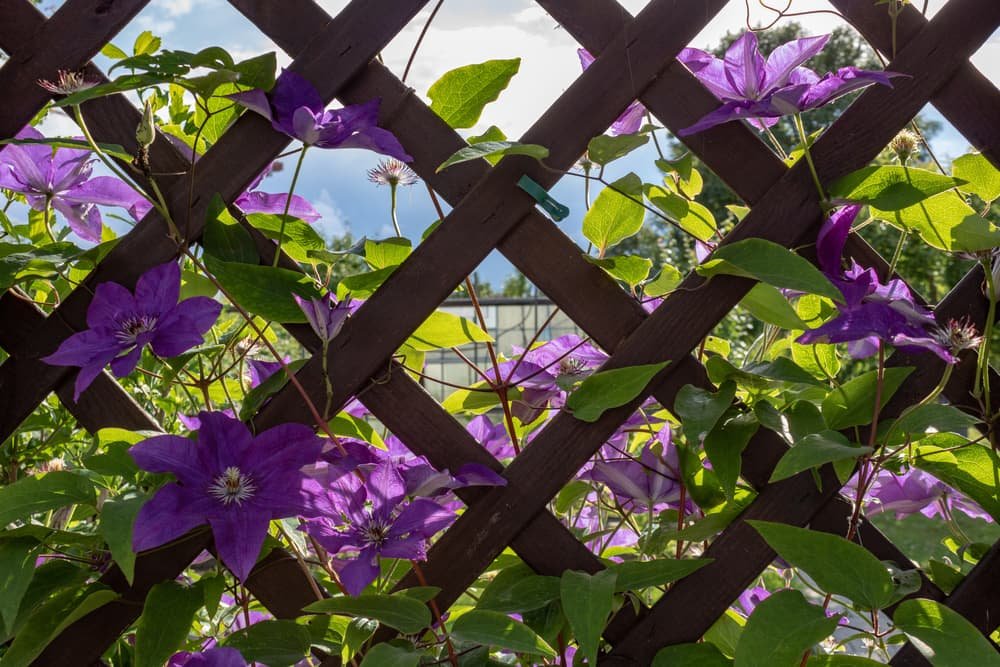
Properly Securing Clematis to the Trellis
As clematis grows, it will naturally twine around the trellis, but it may need some guidance initially. Use soft plant ties or garden twine to gently secure the stems to the trellis, ensuring not to constrict the plant’s growth. Space the ties about 12 inches apart along the stem.
While clematis will naturally wind itself around the trellis as it grows, you may need to assist it initially. Make sure not to restrict the plant’s expansion, and use soft plant ties or garden twine to gently secure the stems to the support. Space the ties 12 inches apart along the stem.
Regularly check the ties as the plant grows, adjusting them as necessary to prevent damage to the stems. Training the plant to grow evenly across the trellis will promote better air circulation and a more attractive display.
As the plant grows, regularly check the ties and adjust them as needed to avoid damage to the stems. Directing the plant to grow evenly across the trellis will create a better visual arrangement and encourage greater ventilation.
Watering and Fertilizing for Optimal Growth
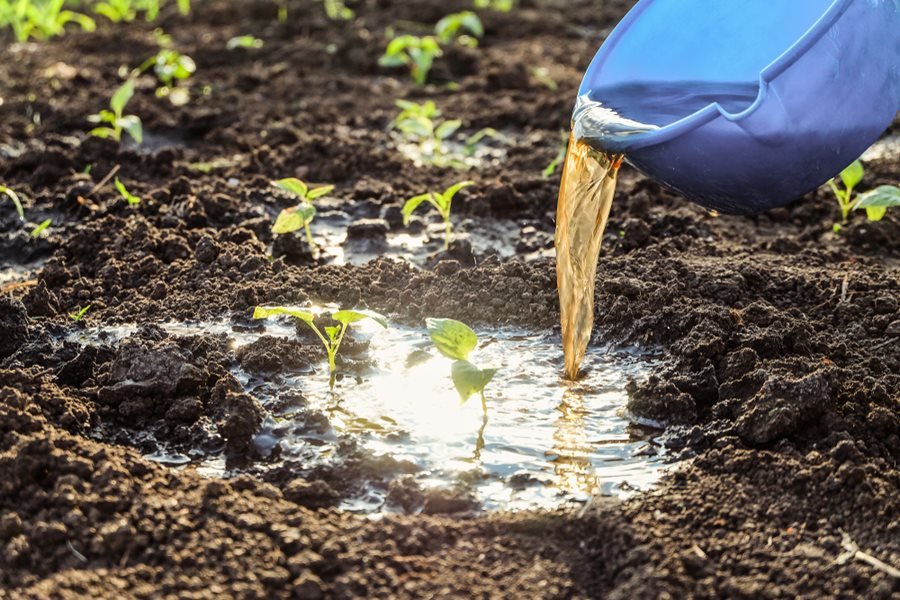
Clematis requires consistent moisture, especially during the growing season. Water deeply once or twice a week, ensuring the soil remains evenly moist but not waterlogged. During hot, dry periods, increase watering frequency to prevent stress.
In particular during the growing season, clematis needs consistently moist soil. Make certain the soil remains continuously moist, but not drenched, and water deeply once or twice a week. To prevent stress, in hot dry weather, water more often.
Fertilize clematis in early spring with a balanced, slow-release fertilizer. A second application can be made in mid-summer if the plant appears to need a nutrient boost. Avoid high-nitrogen fertilizers, as they can promote excessive foliage growth at the expense of flowers.
In the early spring, fertilize clematis with a well-balanced, slow-release fertilizer. If plant shows signs of needing an boost, a second application can be added in mid-summer. Fertilizers high in nitrogen should be avoided because they cause excessive leaf growth and a limited bloom range.
Pruning Techniques to Encourage Healthy Blooms
Pruning clematis correctly is essential for maintaining plant health and encouraging blooms. Group 1 clematis should be pruned immediately after flowering, removing only dead or weak stems. Group 2 varieties benefit from light pruning in late winter or early spring, cutting back to a pair of healthy buds.
To maintain plant health and promote flowering, proper clematis pruning is essential. Clematis in Group 1 must be pruned immediately after flowering, and only weak or dead stems should be taken off. In late winter or earlier spring, light pruning is beneficial to Group 2 types, and they can be cut back to a couple of healthy buds.
Group 3 clematis should be pruned hard in late winter, cutting stems back to 12-18 inches above the ground. This encourages vigorous new growth and abundant flowering. Always use clean, sharp pruning tools to prevent disease transmission.
In late winter, prune Group 3 clematis firmly by cutting stems back to 12–18 inches above the ground. The new growth of this practice will encourage flowers to grow abundantly. Utilize clean, sharp pruning tools to prevent the propagation of diseases.

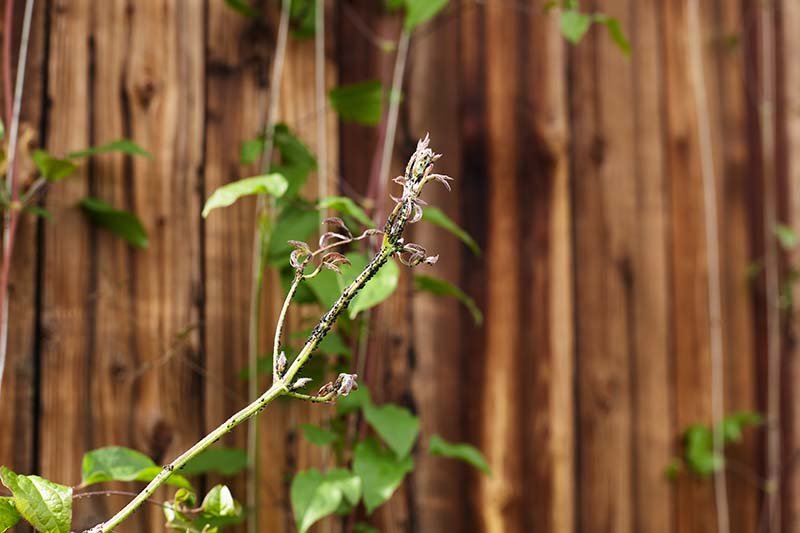
Common Mistakes to Avoid When Growing Clematis
One common mistake is planting clematis too deeply or too shallowly, which can hinder growth. Ensure the root ball is 2-3 inches below the soil surface. Over-fertilizing, particularly with high-nitrogen fertilizers, can lead to lush foliage but few flowers.
Planting clematis at the improper depth, either too shallow or too deep, is a frequent error that may impede growth. Check that the top of the root ball is 2-3 inches underneath the surface of the soil. Over-fertilizing, particularly with fertilizers high in nitrogen, may produce luxuriant foliage yet few flowers.
Another mistake is neglecting to provide adequate support. Clematis needs a sturdy trellis or fence to climb, and without it, the plant may become tangled and prone to disease. Finally, improper pruning can reduce flowering, so be sure to follow the correct techniques for your clematis group.
Another error is neglecting to offer the necessary support. Clematis requires either a sturdy fence or trellis to climb, otherwise its vines may tangle and become more susceptible to disease. Lastly, inadequate pruning may lead to diminished flowering; be certain to apply the appropriate pruning methods for the type of clematis.
Viral Hacks for Enhancing Clematis Growth
One popular hack is to plant clematis with its roots shaded by a companion plant, such as a low-growing perennial or ground cover. This helps keep the roots cool and moist, promoting healthier growth.
A well-known hack involves planting clematis with its roots shaded by a companion plant, like a low-growing ground cover or perennial. The cooler and more moist environment will promote healthier growth.
Another tip is to use Epsom salts as a soil amendment. Dissolve 1 tablespoon of Epsom salts in a gallon of water and apply it to the soil around the clematis once a month during the growing season. The magnesium in Epsom salts can enhance flower production and overall plant vigor.
Another pointer involves using Epsom salts as a soil amendment. Once a month during the growing season, add one tablespoon of Epsom salts to a gallon of water and apply the solution to the soil around the clematis. The addition of Epsom salts increases the overall health and encourages flower development.
Seasonal Care Tips for Year-Round Clematis Beauty
In spring, focus on feeding and training new growth. Apply a balanced fertilizer and guide the stems onto the trellis. As summer approaches, maintain consistent watering and mulch to retain soil moisture.
Concentrate on nourishing and directing new growth in the spring. Place the stems on the trellis and apply a well-balanced fertilizer. To keep soil moisture during the summer, water regularly and mulch.
In fall, clean up fallen leaves and debris around the base of the plant to prevent disease. Winter care involves protecting the roots with a layer of mulch and ensuring the trellis remains secure against winter winds. By following these seasonal care tips, your clematis will remain healthy and beautiful year-round.
Remove any fallen leaves and trash surrounding the plant’s base in the fall to avoid disease. When it comes to winter maintenance, make sure the trellis stays securely fastened against the winter winds, and shield the roots with mulch. Your clematis will remain gorgeous and healthy throughout the year if you follow these maintenance instructions.
Conclusion
In conclusion, successfully growing clematis requires careful attention to its specific needs, from suitable planting depths to targeted pruning techniques tailored to different groups. Ensuring adequate nutrition through balanced fertilization, while avoiding high-nitrogen options, is crucial for fostering robust blooms. Additionally, avoiding common pitfalls such as improper planting depth and inadequate support, as well as incorporating seasonal care practices, will contribute significantly to the vitality of your clematis. By leveraging viral growth hacks like using companion planting and Epsom salts, along with diligent seasonal maintenance, you can enjoy the vibrant blooms of clematis throughout the year, transforming your garden into a stunning showcase of these beautiful flowering vines.
