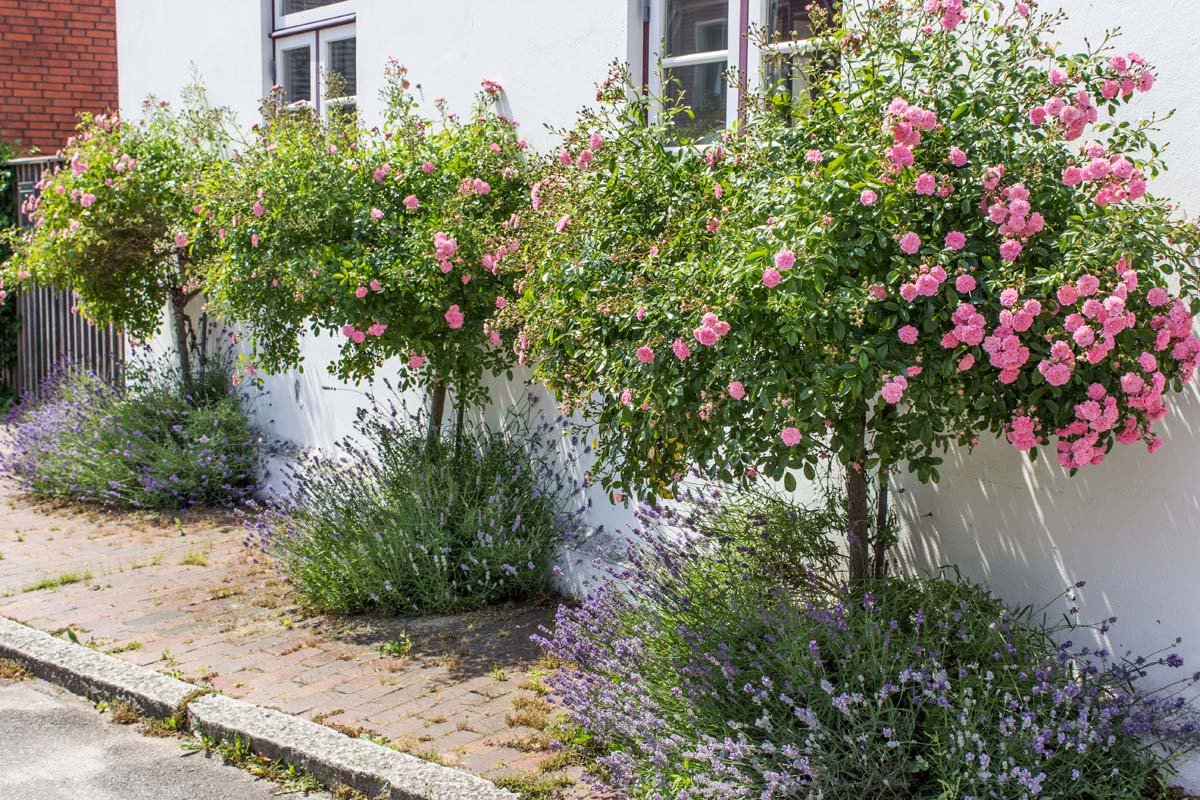
Roses have delighted people for generations with their beautiful appearance and lovely scents, making them a favorite in gardens and flower arrangements. However, buying rose bushes at stores can be quite expensive, and their growth isn’t always guaranteed. Thankfully, a satisfying alternative exists: cultivating your own rose tree at home with just a glass of water. This method not only saves you money but also empowers you to nurture a unique rose tree, from its first root to its beautiful blooms.
Growing roses in water is an accessible and fascinating process that can be undertaken by both novice and experienced gardeners. By understanding the science behind rose propagation and following a few straightforward steps, you can successfully nurture a rose cutting into a thriving plant. This article will guide you through the process, from selecting the right cutting to transferring your new rose tree to soil, ensuring you have a beautiful addition to your home or garden.
Growing roses in water is an easy and interesting project for both beginners and experienced gardeners. You can successfully transform a simple rose cutting into a flourishing plant by grasping the science of rose propagation and adhering to a few easy steps. This article offers complete guidance on the process, from selecting the correct cutting to moving your new rose tree into the soil, guaranteeing a lovely addition to your home or garden.

Why Growing a Rose Tree at Home is Beneficial
Growing a rose tree at home offers several advantages beyond the initial cost savings. Firstly, it allows you to select and propagate specific rose varieties that may not be readily available at local nurseries. This means you can cultivate rare or heirloom varieties that suit your personal taste and garden design.
There are many benefits to growing a rose tree at home in addition to saving money. For one, it allows you to choose and grow specific rose types that might not be easily found at local plant stores. This means you can grow unique or antique types that match your preferences and the look of your garden.
Additionally, growing roses at home provides an opportunity to control the growing environment, ensuring optimal conditions for your plant. This can lead to healthier growth and more vibrant blooms. Moreover, the process of nurturing a plant from a cutting to a mature tree can be incredibly rewarding, offering a sense of accomplishment and a deeper connection to nature.
Furthermore, by growing roses at home, you have control over the growing conditions, ensuring that your plants have everything they need to thrive. This can result in healthier growth and more colorful flowers. The act of taking care of a plant from a cutting to a fully grown tree can also be incredibly fulfilling, giving you a sense of achievement and a closer bond with nature.
The Science Behind Growing Roses in Water
The process of growing roses in water is based on the principle of vegetative propagation, where a new plant is grown from a fragment of the parent plant. This method relies on the cutting’s ability to develop roots in a water medium, a process facilitated by the presence of natural plant hormones called auxins. These hormones stimulate root growth and help the cutting absorb nutrients and water.
Growing roses in water relies on vegetative propagation, which involves growing a new plant from a piece of the original plant. This method depends on the cutting’s capacity to grow roots in water, aided by natural plant hormones called auxins. These hormones boost root growth and help the cutting take in nutrients and water.
When a rose cutting is placed in water, it begins to form callus tissue at the cut end, which eventually develops into roots. The water provides a stable environment that supports this root development, allowing the cutting to establish itself before being transferred to soil. The key is to maintain the right conditions, such as temperature and light, to encourage successful rooting.
When a rose cutting is placed in water, it starts forming callus tissue where it was cut, and this tissue eventually turns into roots. The water creates a steady environment that helps the roots grow, allowing the cutting to get established before being planted in soil. The important thing is to provide the right conditions, like the proper temperature and lighting, to encourage the cutting to root successfully.

Essential Materials Needed to Start
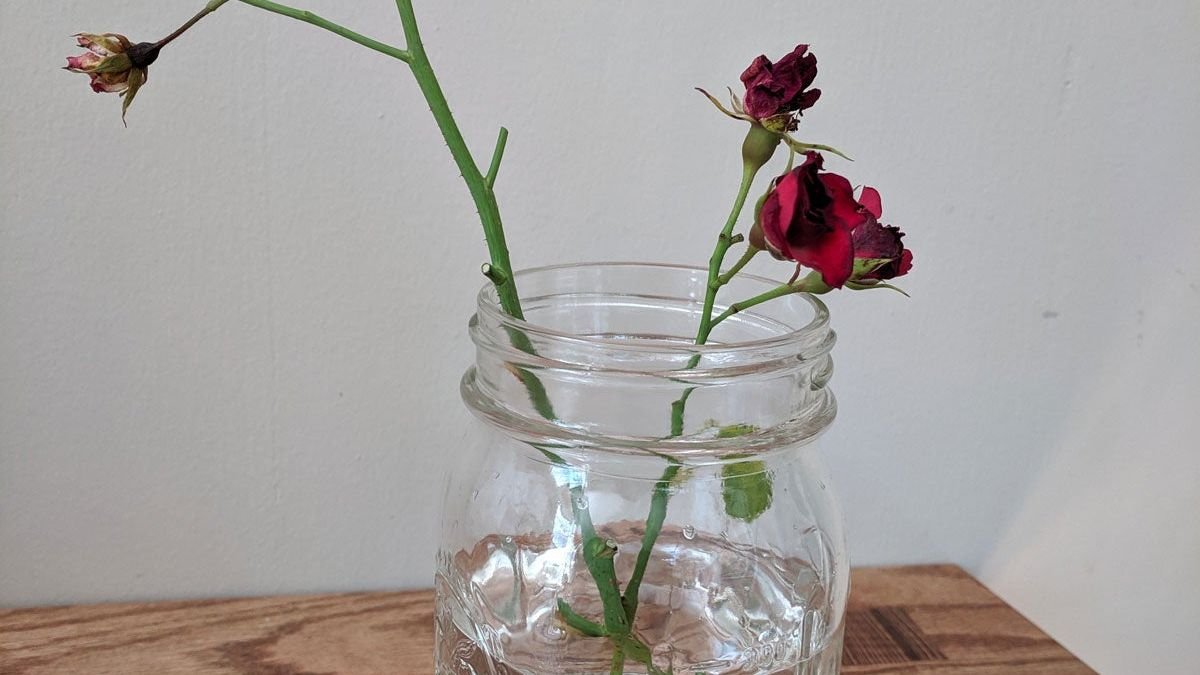
To begin growing a rose tree in water, you will need a few basic materials: a healthy rose cutting, a clean glass container, and fresh water. It’s important to choose a glass container that is tall enough to support the cutting and allow room for root growth. A clear glass is preferable, as it allows you to monitor the development of the roots.
To start growing a rose tree in water, you will need a few simple supplies: a healthy rose cutting, a clean glass jar or vase, and clean water. It’s important to choose a glass container that is tall enough to hold the cutting upright and give the roots room to grow. A clear glass is best, as it allows you to watch the roots as they develop.
In addition to these primary materials, you may also need a pair of sharp pruning shears to take the cutting, and optionally, a rooting hormone to enhance root development. While not necessary, rooting hormone can increase the chances of successful propagation by providing additional auxins to the cutting.
Aside from these basic items, you might also need a sharp pair of pruning shears for taking the cutting, and you could also use rooting hormone to help the roots grow faster. Rooting hormone isn’t essential, but it can increase your chances of success by giving the cutting extra auxins.
Choosing the Right Rose Cutting
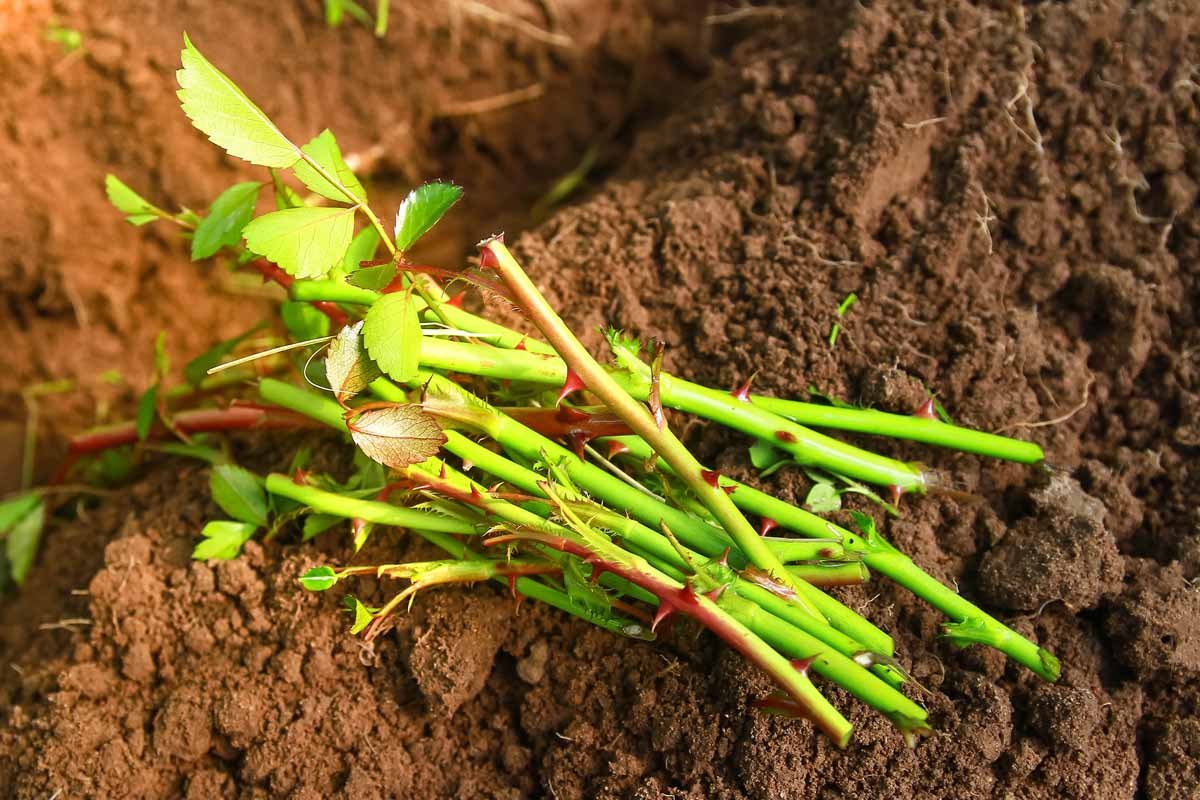
Selecting the right rose cutting is crucial for successful propagation. Look for a healthy, disease-free rose stem that is about 6 to 8 inches long and has at least three to four leaf nodes. The cutting should be taken from a mature rose bush, ideally from a stem that has recently bloomed and is beginning to fade.
Choosing the right rose cutting is very important for successful propagation. Look for a healthy rose stem that is free of diseases, about 6 to 8 inches in length, and has at least three or four nodes where leaves grow. The cutting should be taken from a fully grown rose bush, preferably from a stem that has recently finished blooming and is starting to lose its petals.
It’s best to take the cutting in the morning when the plant is well-hydrated. Use sharp, clean pruning shears to make a diagonal cut just below a leaf node, as this is where new roots are most likely to form. Remove any flowers or buds from the cutting to direct the plant’s energy towards root development.
It’s best to cut the stems in the morning because that’s when the plant has the most water in its system. Use sharp, clean pruning shears to make a slanted cut just below a node where a leaf grows; new roots are most likely to sprout from these areas. Remove any flowers or buds from the cutting so that all of the plant’s energy goes into growing roots.
Preparing the Rose Cutting for Propagation
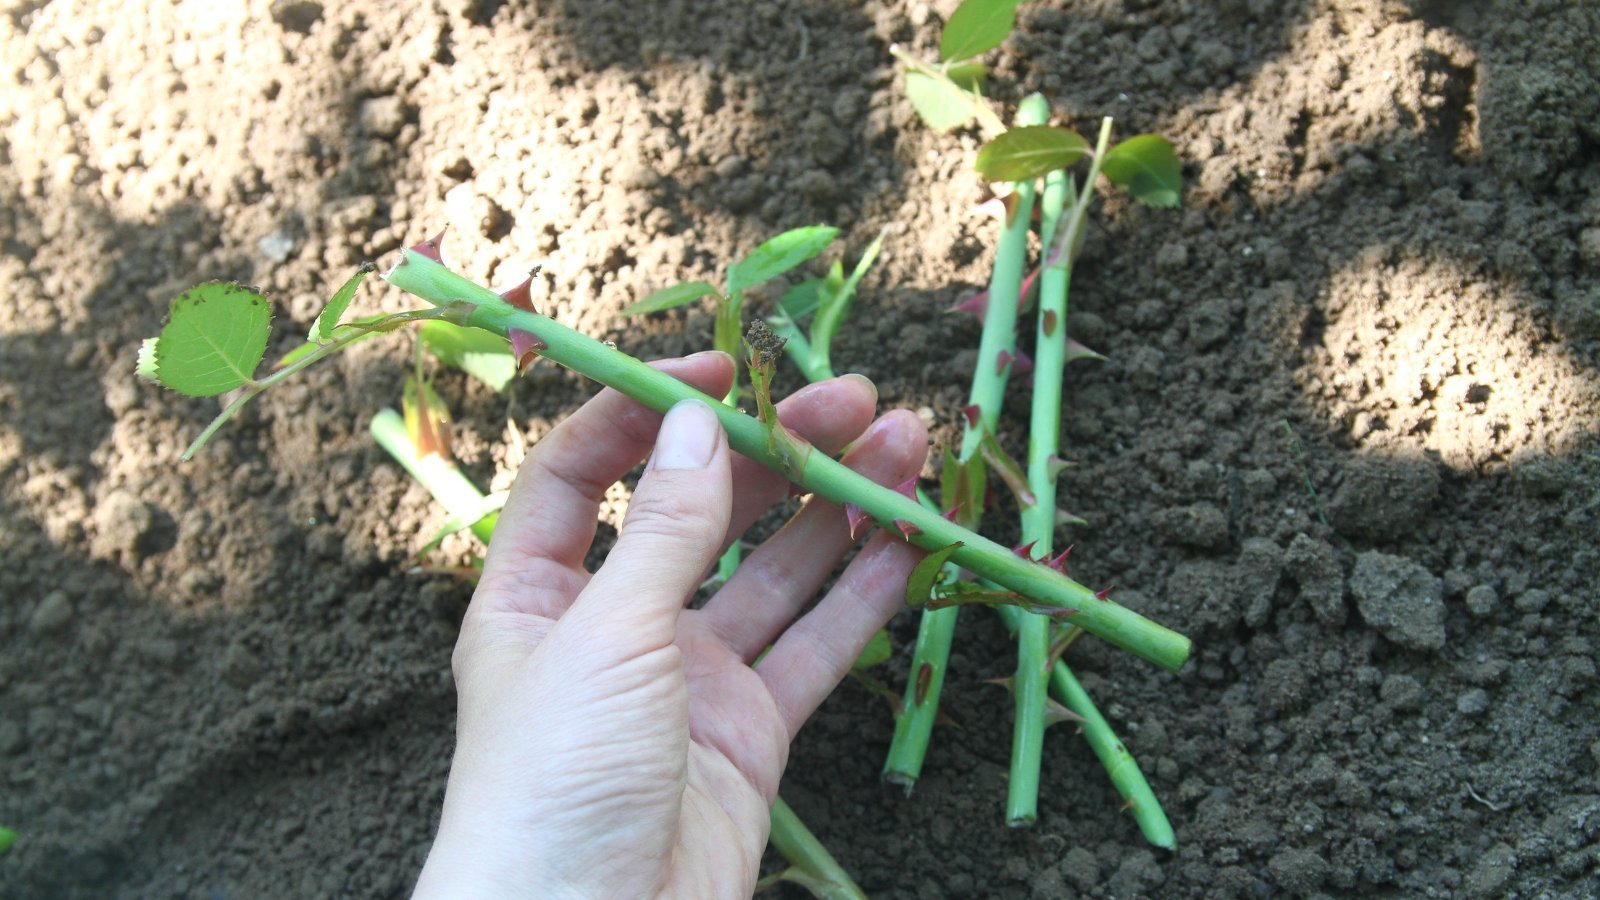
Once you have your rose cutting, it’s important to prepare it properly for propagation. Start by removing the lower leaves, leaving only a few at the top to support photosynthesis. This reduces water loss and encourages the cutting to focus on root growth.
After getting your rose cutting, it’s crucial to get it ready for propagation. Start by removing the leaves from the bottom part of the stem, leaving just a few at the top to help with photosynthesis. This minimizes water loss and encourages the cutting to concentrate on growing roots.
If you are using rooting hormone, dip the cut end of the stem into the powder or gel, tapping off any excess. This step is optional but can enhance the rooting process. After preparing the cutting, it’s ready to be placed in the glass container filled with water.
If you’re using rooting hormone, dip the cut end of the stem into the powder or gel, and then gently tap off any extra. This step is not required, but it can help the rooting process. Once the cutting is prepped, it’s ready to be put into the glass container filled with water.
Setting Up Your Glass Container
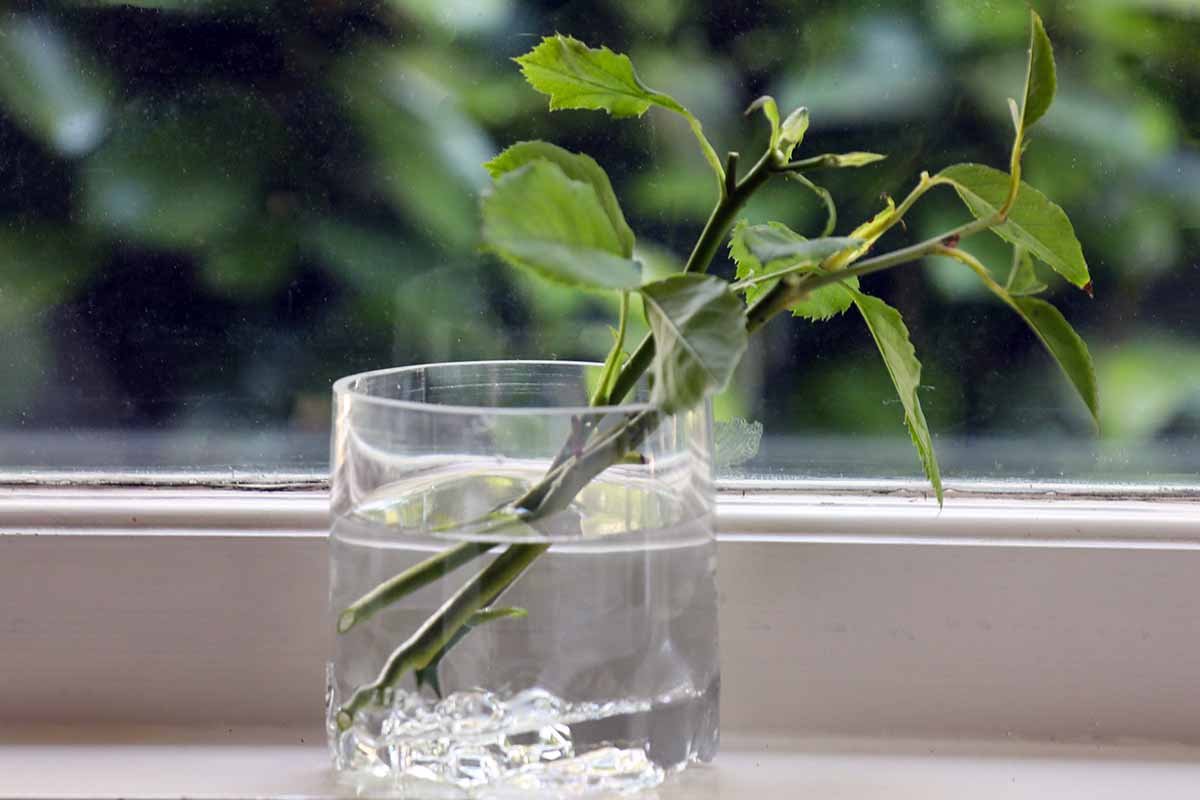
Choose a clean glass container that is tall enough to support the cutting without submerging the leaves. Fill the container with fresh, room-temperature water, ensuring that the bottom two inches of the cutting are submerged. It’s important to use non-chlorinated water, as chlorine can inhibit root growth.
Select a clean glass container that’s tall enough to hold the cutting upright without the leaves being underwater. Fill the container with clean water at room temperature, making sure the bottom two inches of the cutting are submerged. It’s crucial to use water that doesn’t contain chlorine because chlorine can prevent root growth.
Place the container in a location that receives bright, indirect sunlight. Direct sunlight can cause the water to heat up and promote algae growth, which can be detrimental to the cutting. A windowsill with filtered light or a spot near a bright window is ideal.
Put the container in a spot that gets plenty of bright, indirect sunlight. Direct sunlight can make the water too warm and encourage algae to grow, which can harm the cutting. A windowsill with filtered light or a spot close to a bright window is perfect.
Ideal Water Conditions for Rose Growth
Maintaining the right water conditions is key to successful rose propagation. The water should be changed every few days to prevent stagnation and the buildup of bacteria. Use room-temperature, non-chlorinated water each time you refresh the container.
Keeping the water in the right condition is essential for successfully growing roses. The water should be changed every few days to prevent it from becoming stagnant and growing bacteria. Use water that is at room temperature and does not contain chlorine each time you change the water in the container.
It’s also important to monitor the water level, ensuring that the cut end of the stem remains submerged at all times. If the water level drops too low, the cutting may dry out and fail to root. By keeping the water clean and at the right level, you create an optimal environment for root development.
It is equally important to watch the water level, ensuring that the trimmed end of the stem is always underwater. Should the water level drop, the cutting might dry out and fail to grow roots. You can create the best environment for root development by ensuring the water remains clean and at the correct level.
Monitoring and Maintaining Your Rose Cutting
As your rose cutting begins to develop roots, it’s important to monitor its progress and maintain the right conditions. Check the cutting regularly for signs of root growth, which typically begins within two to four weeks. Look for small white roots emerging from the cut end of the stem.
As your rose cutting starts growing roots, it’s important to watch how it’s doing and keep the conditions just right. Regularly check the cutting for signs of root growth, which usually starts in about two to four weeks. Look for small, white roots sprouting from the cut end of the stem.
During this time, continue to change the water every few days and ensure the cutting receives adequate light. If you notice any signs of mold or decay, remove the affected parts and refresh the water. With proper care, your cutting will continue to develop a healthy root system.
During this period, continue changing the water every few days and ensure the cutting gets enough light. If you see any mold or signs of decay, remove the affected parts and replace the water. With proper care, your cutting will keep developing a strong root system.
:max_bytes(150000):strip_icc()/GettyImages-1337773594-806258ead2464a13be534153473e5510.jpg)
Signs of Successful Root Development
Successful root development is indicated by the appearance of numerous white roots extending from the cut end of the stem. These roots should be at least 1 to 2 inches long before you consider transferring the cutting to soil.
The sign of good root development is the appearance of many white roots growing from the cut end of the stem. These roots should be at least 1 to 2 inches in length before you consider planting the cutting in soil.
In addition to root growth, a healthy cutting may also begin to produce new leaves and stems. This is a positive sign that the cutting is thriving and ready for the next stage of growth. Once the roots are well-developed, your rose cutting is prepared to be transplanted into soil.
Besides the growth of roots, a healthy cutting may also start producing new leaves and stems. This is a good sign that the cutting is flourishing and ready for the next phase of growth. Once the roots are well-developed, your rose cutting is ready for transplanting into soil.

Transferring Your Rose to Soil
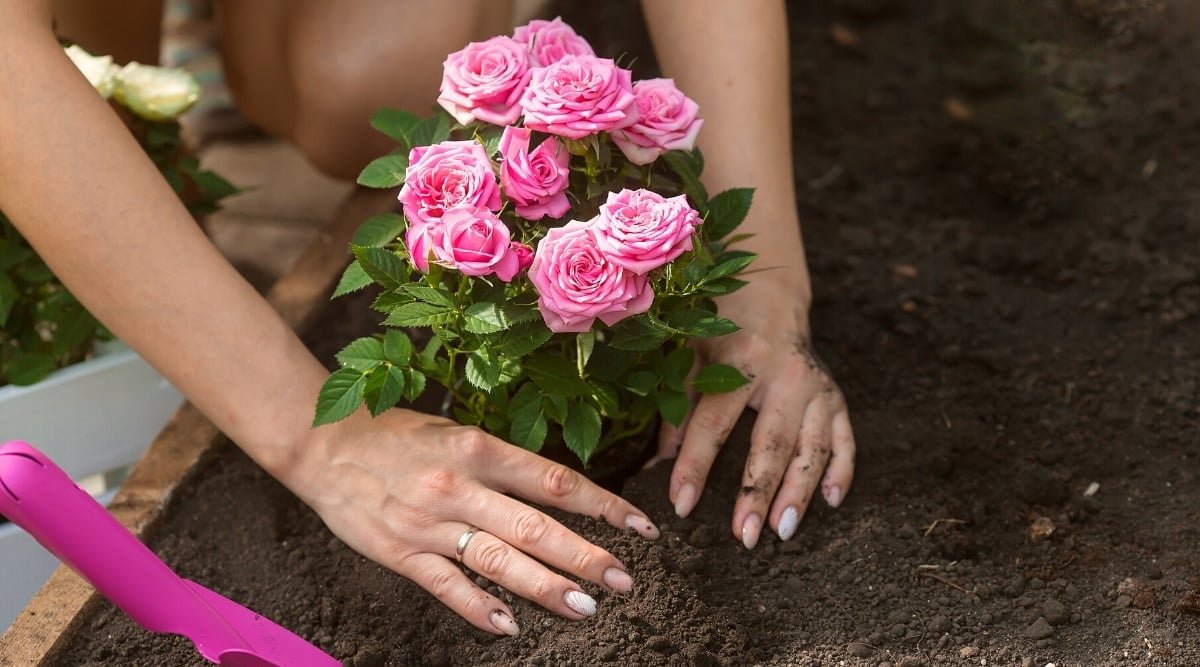
Transferring your rooted rose cutting to soil is a crucial step in its development. Begin by selecting a pot with drainage holes and filling it with a well-draining potting mix. Make a hole in the soil large enough to accommodate the roots without bending them.
Moving your rooted rose cutting to soil is a key step in its development. Start by choosing a pot that has holes for drainage and fill it with a potting mix that drains well. Create a hole in the soil that is large enough to hold the roots without bending them.
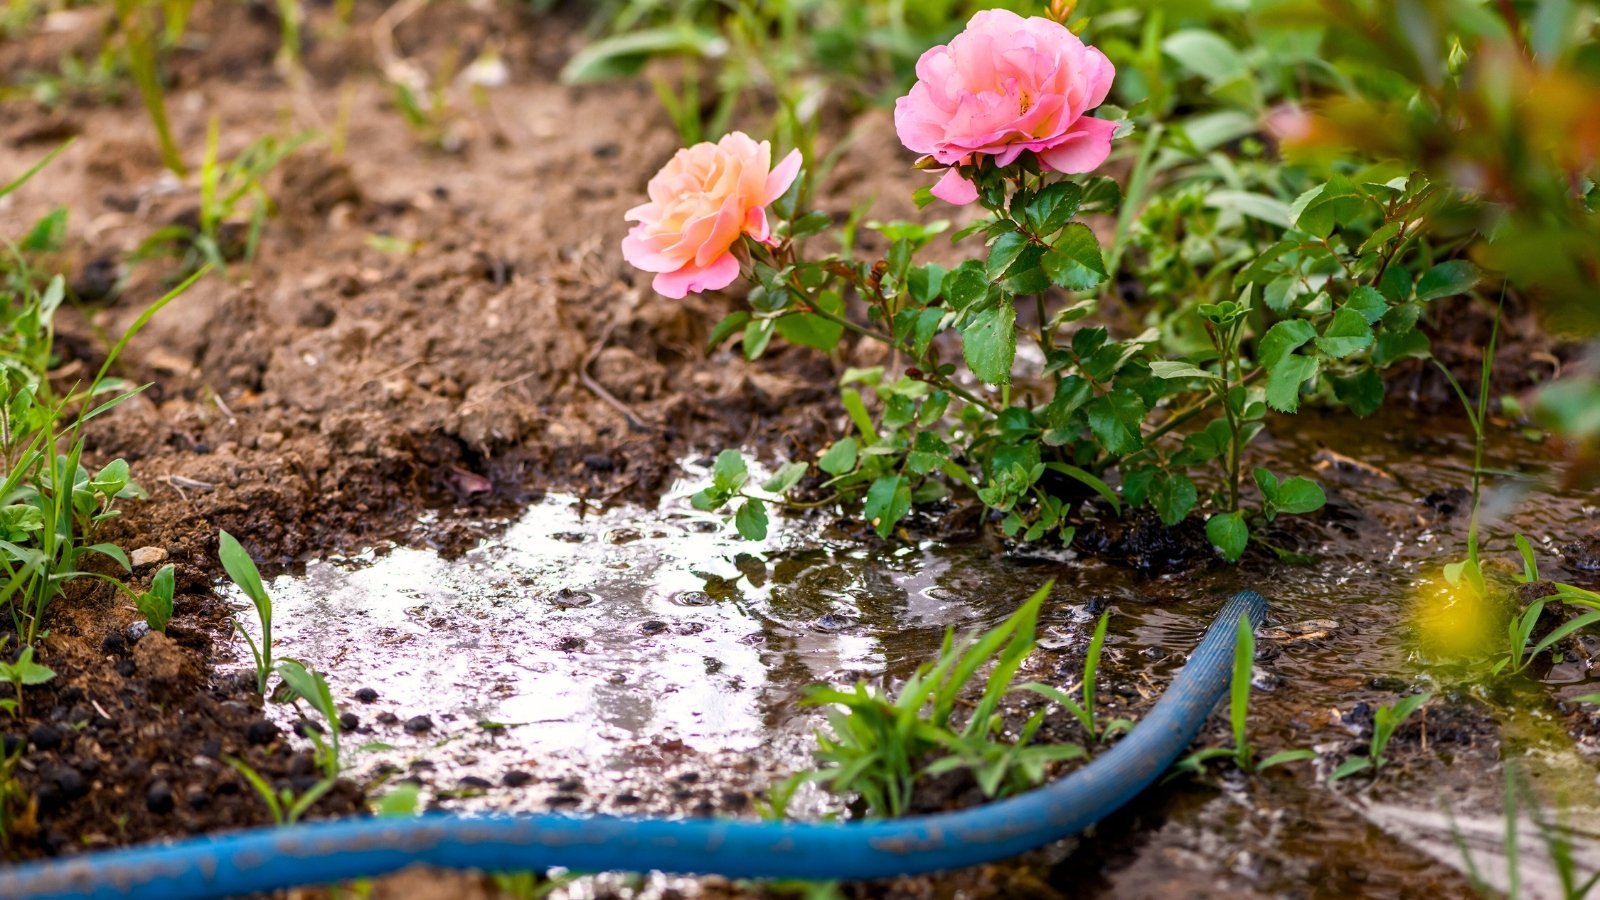
Gently place the cutting into the hole and cover the roots with soil, pressing lightly to secure the plant. Water the soil thoroughly to help the roots settle and eliminate any air pockets. Place the pot in a location with bright, indirect sunlight and continue to water as needed, allowing the top inch of soil to dry out between waterings.
Carefully put the cutting into the hole and cover the roots with soil, gently pressing down to secure the plant. Water the soil thoroughly to help the roots settle and remove any air bubbles. Put the pot in a place that gets bright, indirect sunlight, and continue to water it as needed, letting the top inch of soil dry out between waterings.

Common Mistakes to Avoid
One common mistake when propagating roses in water is using chlorinated tap water, which can inhibit root growth. Always use non-chlorinated water to ensure the best results. Another mistake is placing the cutting in direct sunlight, which can cause the water to overheat and promote algae growth.
One frequent mistake when growing roses in water is using tap water that contains chlorine, which can hinder root growth. Always use water that doesn’t have chlorine to get the best results. Another mistake is putting the cutting in direct sunlight, which can cause the water to get too hot and encourage algae growth.
Additionally, neglecting to change the water regularly can lead to bacterial buildup and root rot. Be diligent about refreshing the water every few days to maintain a healthy environment for your cutting. Finally, be patient and avoid disturbing the cutting too frequently, as this can damage delicate new roots and hinder growth.
Additionally, forgetting to change the water regularly can lead to bacteria buildup and root rot. Be diligent about refreshing the water every few days to maintain a healthy environment for your cutting. Lastly, be patient and avoid disturbing the cutting too often since this can hurt the delicate new roots and slow down growth.
Conclusion
In conclusion, successfully propagating roses from cuttings requires careful attention to detail and proper maintenance. By monitoring the cutting for signs of root growth, which typically appears within two to four weeks, and ensuring adequate light and clean water during this process, you can facilitate a healthy root development. Once the roots reach a sufficient length of 1 to 2 inches, it’s time to transfer the cutting into soil, which involves selecting an appropriate pot, using well-draining potting mix, and ensuring thorough watering. Additionally, being mindful of common mistakes—such as using chlorinated water, exposing the cutting to direct sunlight, neglecting water changes, and disturbing the roots too often—will further enhance your chances of a successful propagation. With patience and care, you’ll soon have a thriving rose plant ready to flourish in your garden.
