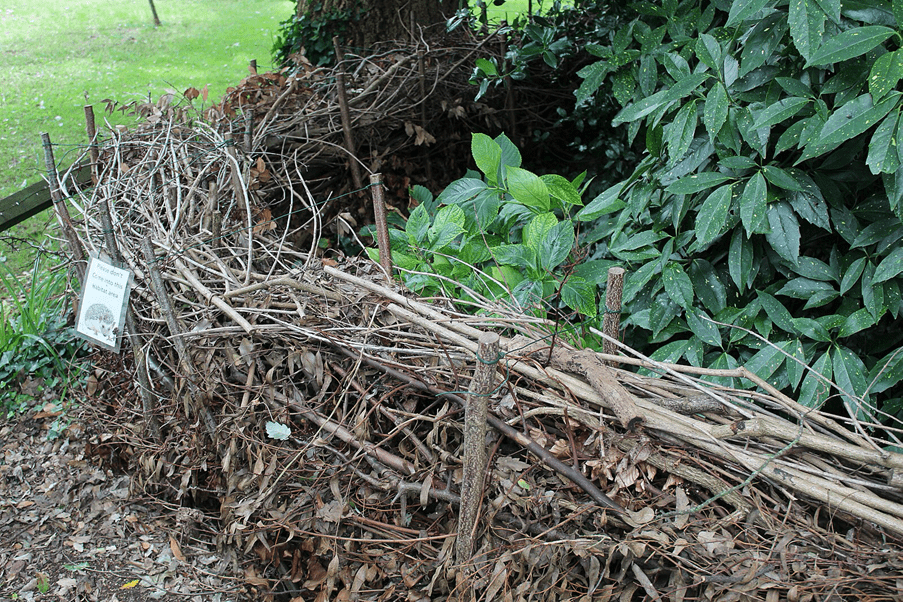
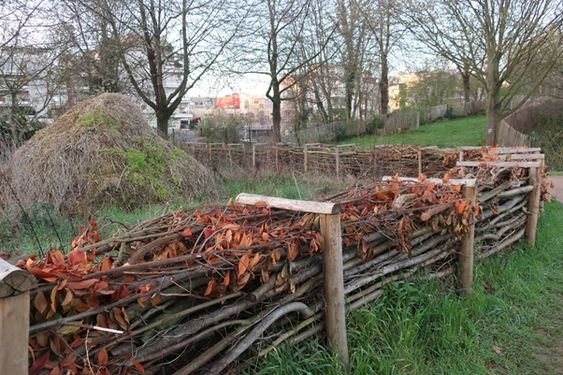
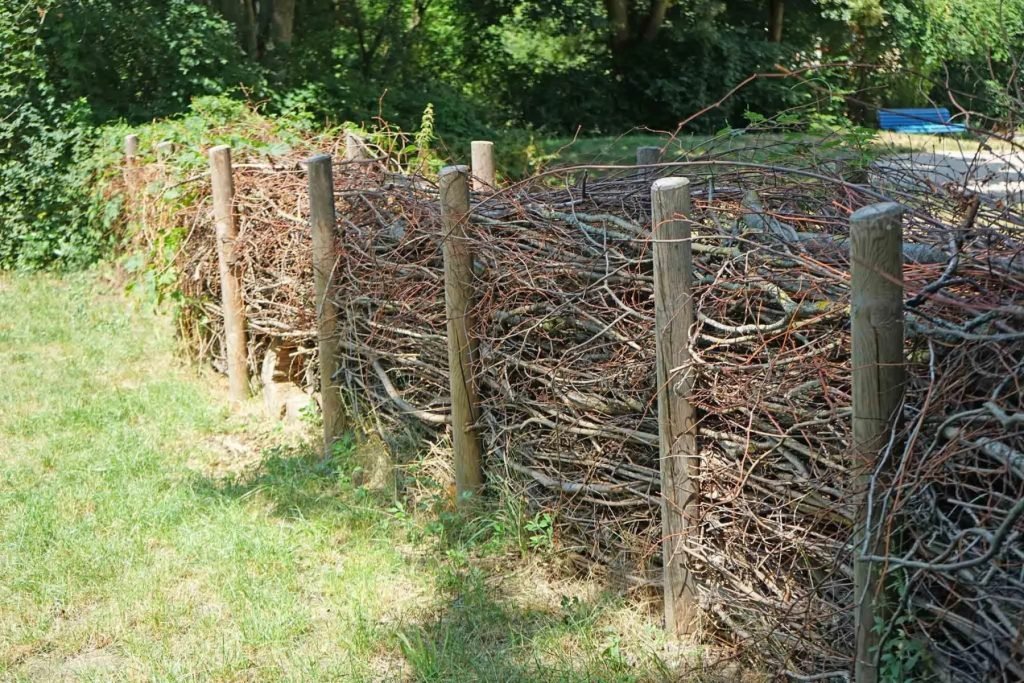
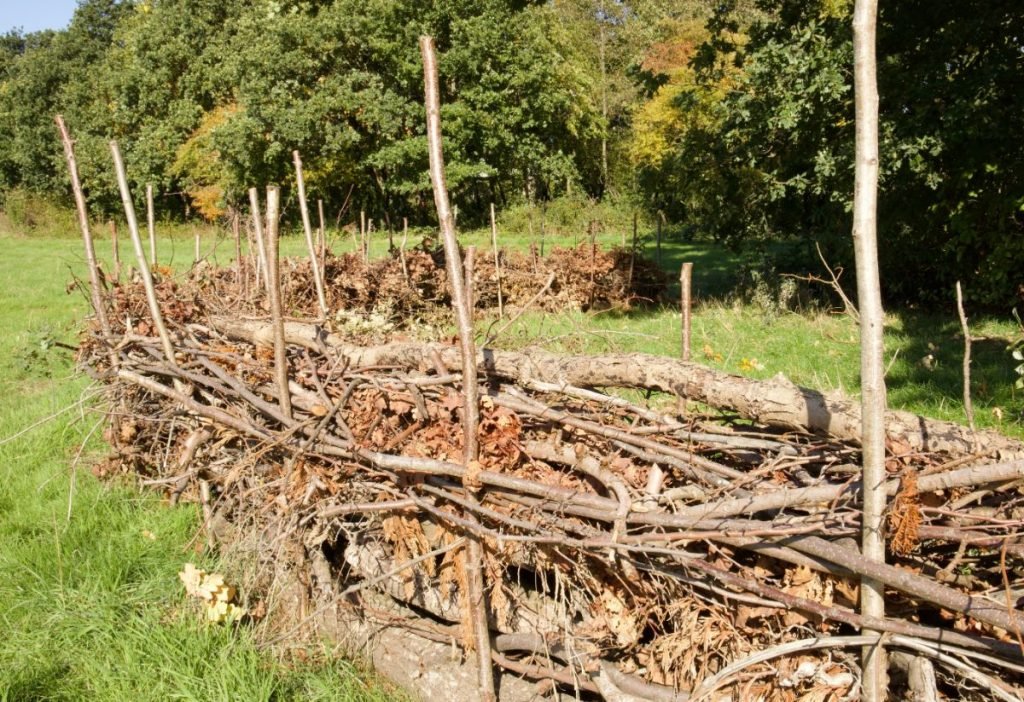
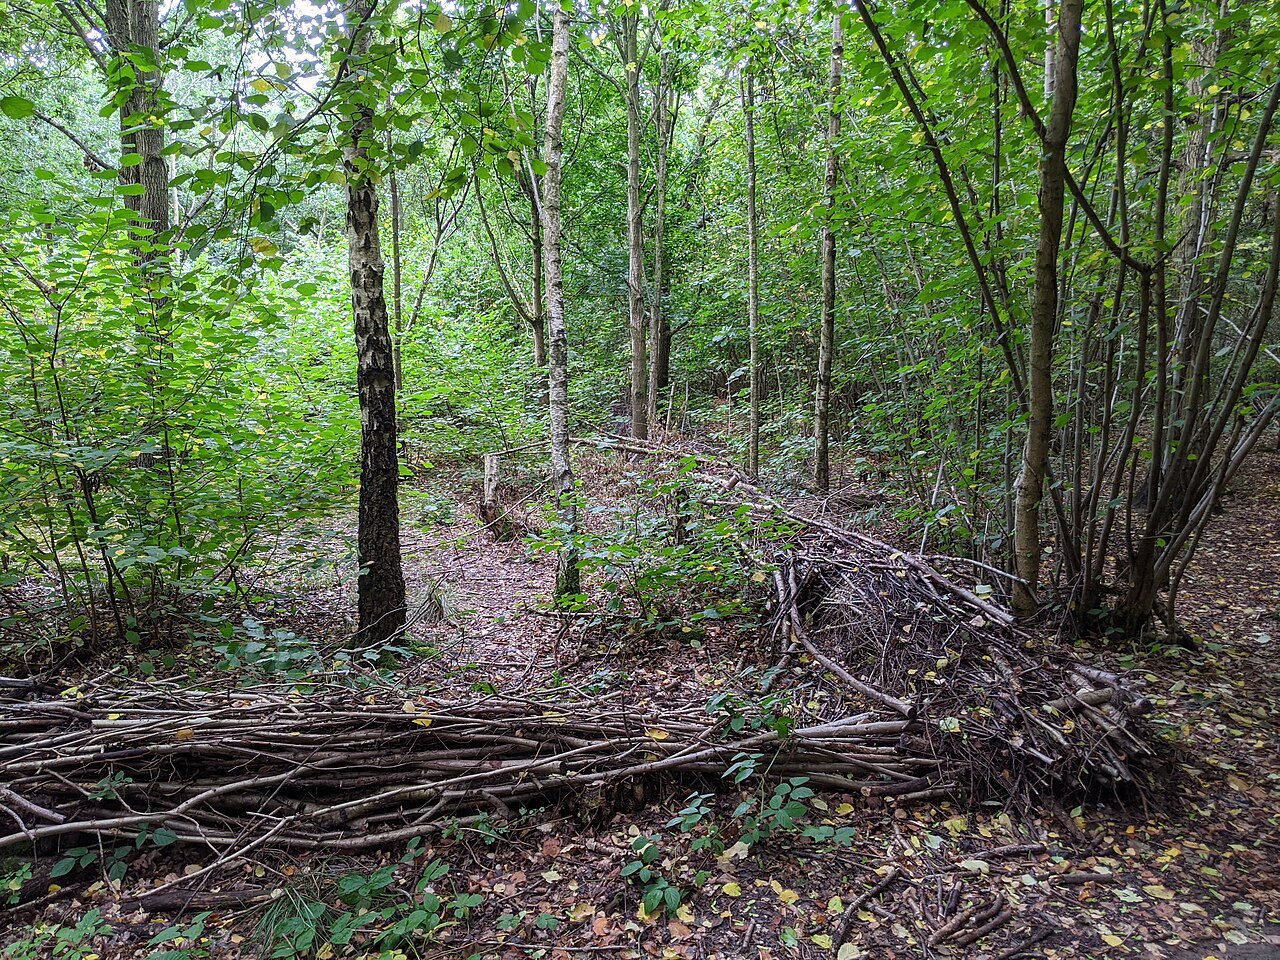
A dead hedge is a structure built simply and sustainably, using branches, twigs, and various natural materials. Functioning as a border or barrier in gardens and within natural landscapes, it differs from conventional hedges by not needing live plants, thus requiring less upkeep by gardeners. They’re especially advantageous in locations where regular hedges struggle due to poor soil quality or insufficient sunlight. Historically, dead hedges were used throughout Europe as an effective solution for creating fences and habitats and are now becoming more popular as individuals pursue sustainable and wildlife-friendly gardening techniques.
Benefits of Building a Dead Hedge
Dead hedges provide a wide range of benefits that are both practical and environmentally friendly. Offering refuge and locations for nesting to birds, insects, and small mammals gives habitats to wildlife. The result contributes to an improvement in the biodiversity of your garden. Furthermore, dead hedges operate as wind barriers, which minimizes soil erosion and protects more fragile plants from severe weather conditions. Garden waste is also recycled, which means pruned branches and twigs become helpful structures rather than going to landfills. On top of this, a dead hedge can boost the garden’s aesthetic appeal, creating a natural, rustic look which effortlessly blends in with the surrounding area.
Understanding the Environmental Impact
The overwhelmingly positive environmental effects of dead hedges are clear. Dead Hedges help to minimize waste by utilizing natural materials which would otherwise be thrown away. They also encourage biodiversity by delivering habitat for a broad range of species, which is extremely important in urban and suburban environments where natural habitat is at a premium. Being windbreaks, dead hedges are able to enhance the health of soil by lowering erosion. They also aid in carbon sequestration, as the decomposition process slowly reintroduces carbon back into the soil of organic materials, which enriches it in time.
Materials Needed for a Dead Hedge
A variety of natural materials are needed to construct a dead hedge. Primarily, you require branches and twigs, ideally from hardwood trees such as oak, beech, or ash due to their slow decomposition rate. You will also need stakes or posts to act as a support, which might be made from strong branches or wooden poles. Other materials can be added, such as leaves, smaller twigs, and other garden debris to fill in spaces and incorporate volume. It is important to only use wood that hasn’t been treated, to avoid introducing unneeded chemicals to your garden.
Step-by-Step Guide to Building a Dead Hedge
Building a dead hedge is a simple procedure that can be accomplished using minimal tools and materials. You can build your own dead hedge if you adhere to the following steps.
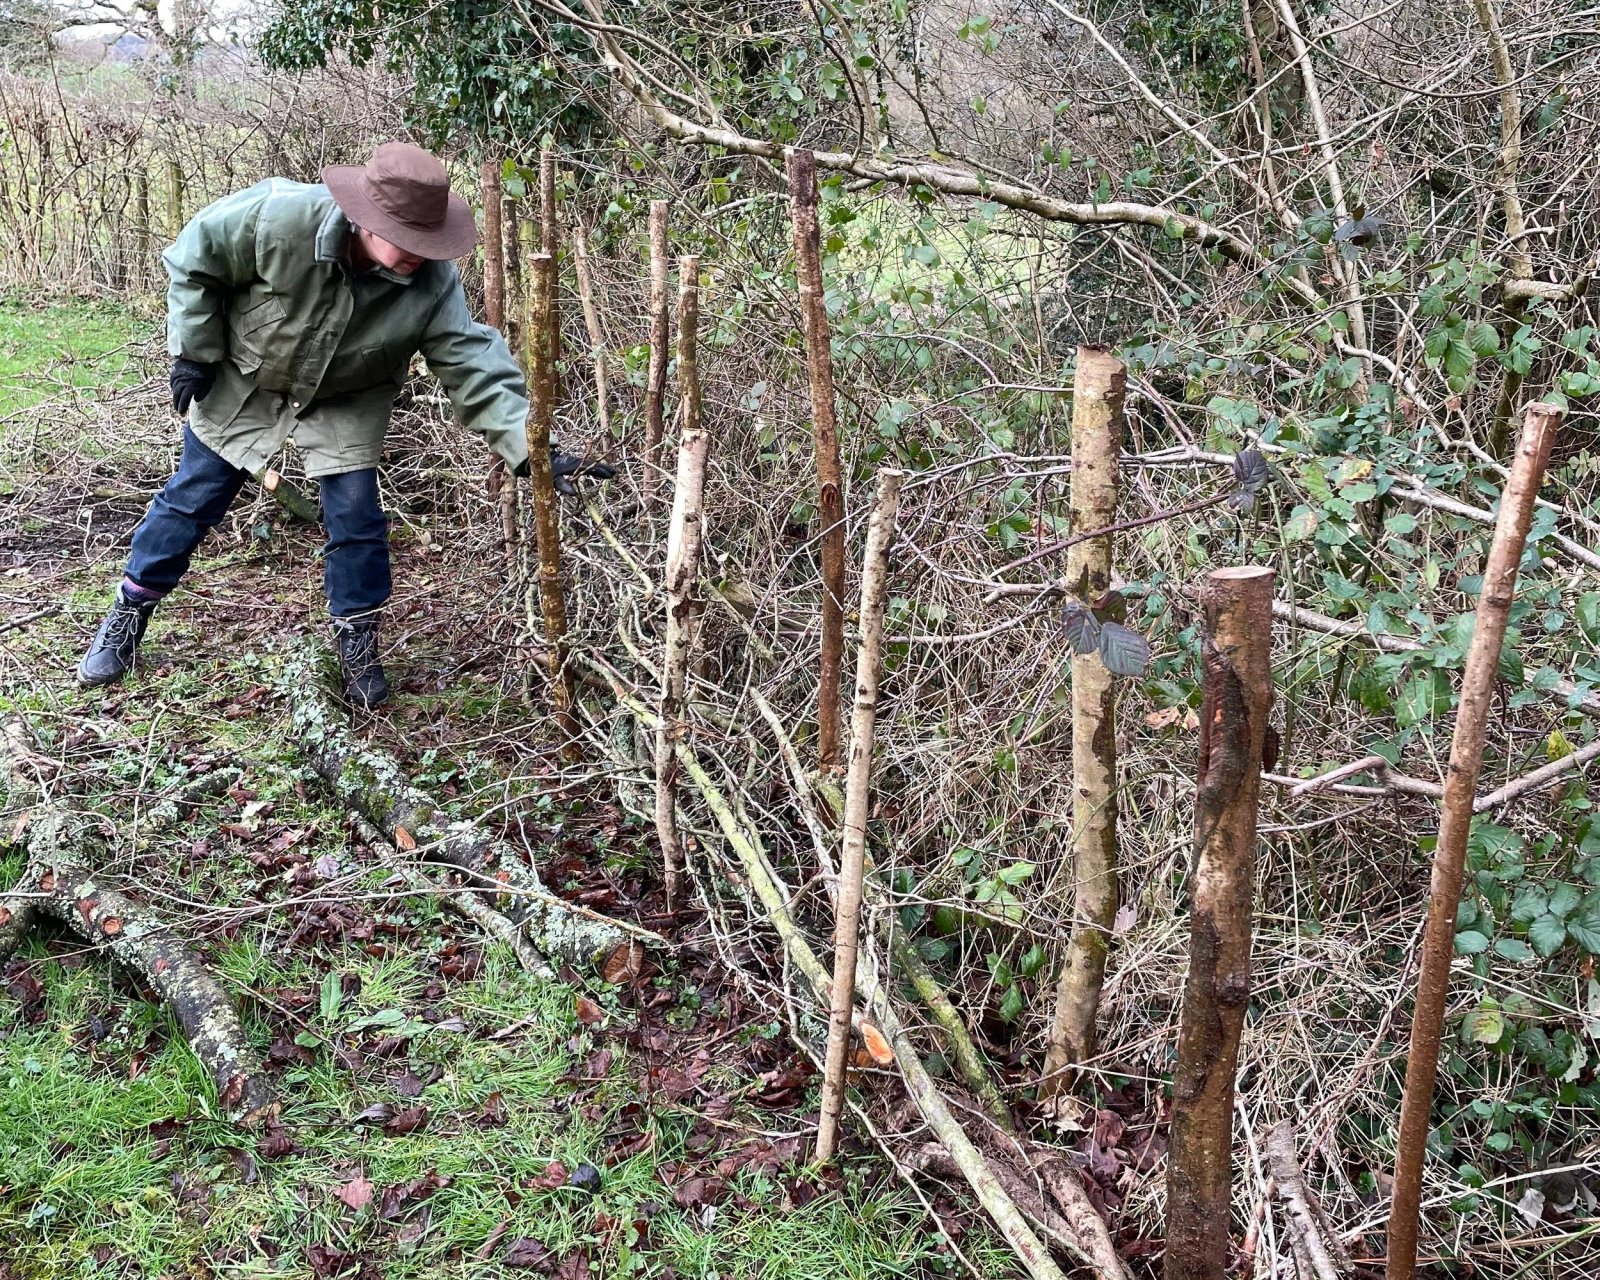
Step 1: Selecting the Right Location
Choose a spot to suit the purpose for which the dead hedge is intended. Where you need a barrier, or somewhere where you want to foster wildlife habitats, are good choices. Take into account the amount of sunshine and direction of the wind, as well as how close it will be to existing plants. The ground must be relatively level to grant a reliable foundation for your hedge.
Step 2: Gathering the Necessary Materials
Gather branches, twigs and organic material types from your garden or close surroundings. Make sure that there is a blend of thin and thick branches for filling and structure. Collect sufficient stakes or posts to support the length of your hedge, keeping a spacing of between one to two feet between them.
Step 3: Preparing the Ground
Eliminate any debris or vegetation that could obstruct the stability of your hedge from the area. If needed, level the surface to provide a reliable foundation. Use stakes or rope to denote the outline of your hedge to guide construction.
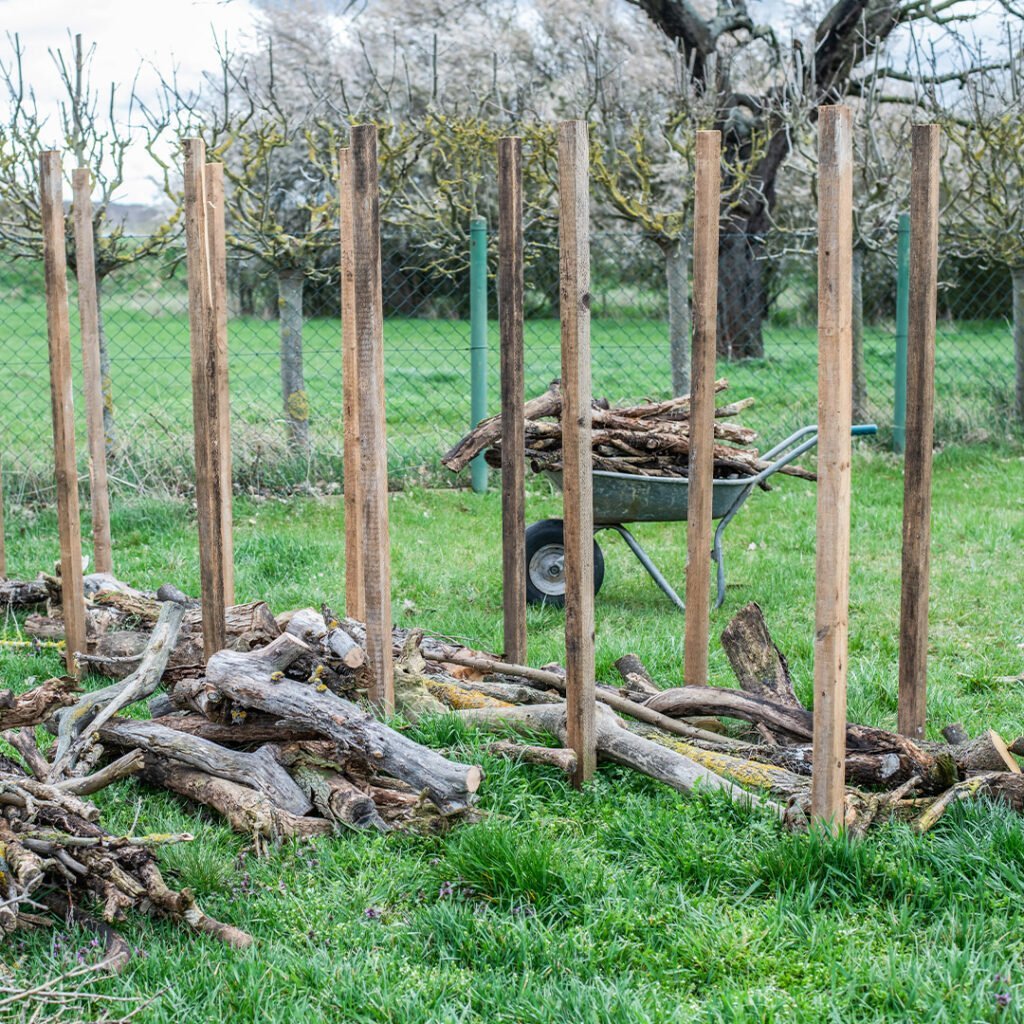
Step 4: Constructing the Base Layer
Drive stakes or posts along the indicated outline into the ground to get started. The foundation of your hedge will be formed by these. Place thicker branches horizontally between the stakes to create the base layer. Make sure they are closely packed to provide a stable foundation.
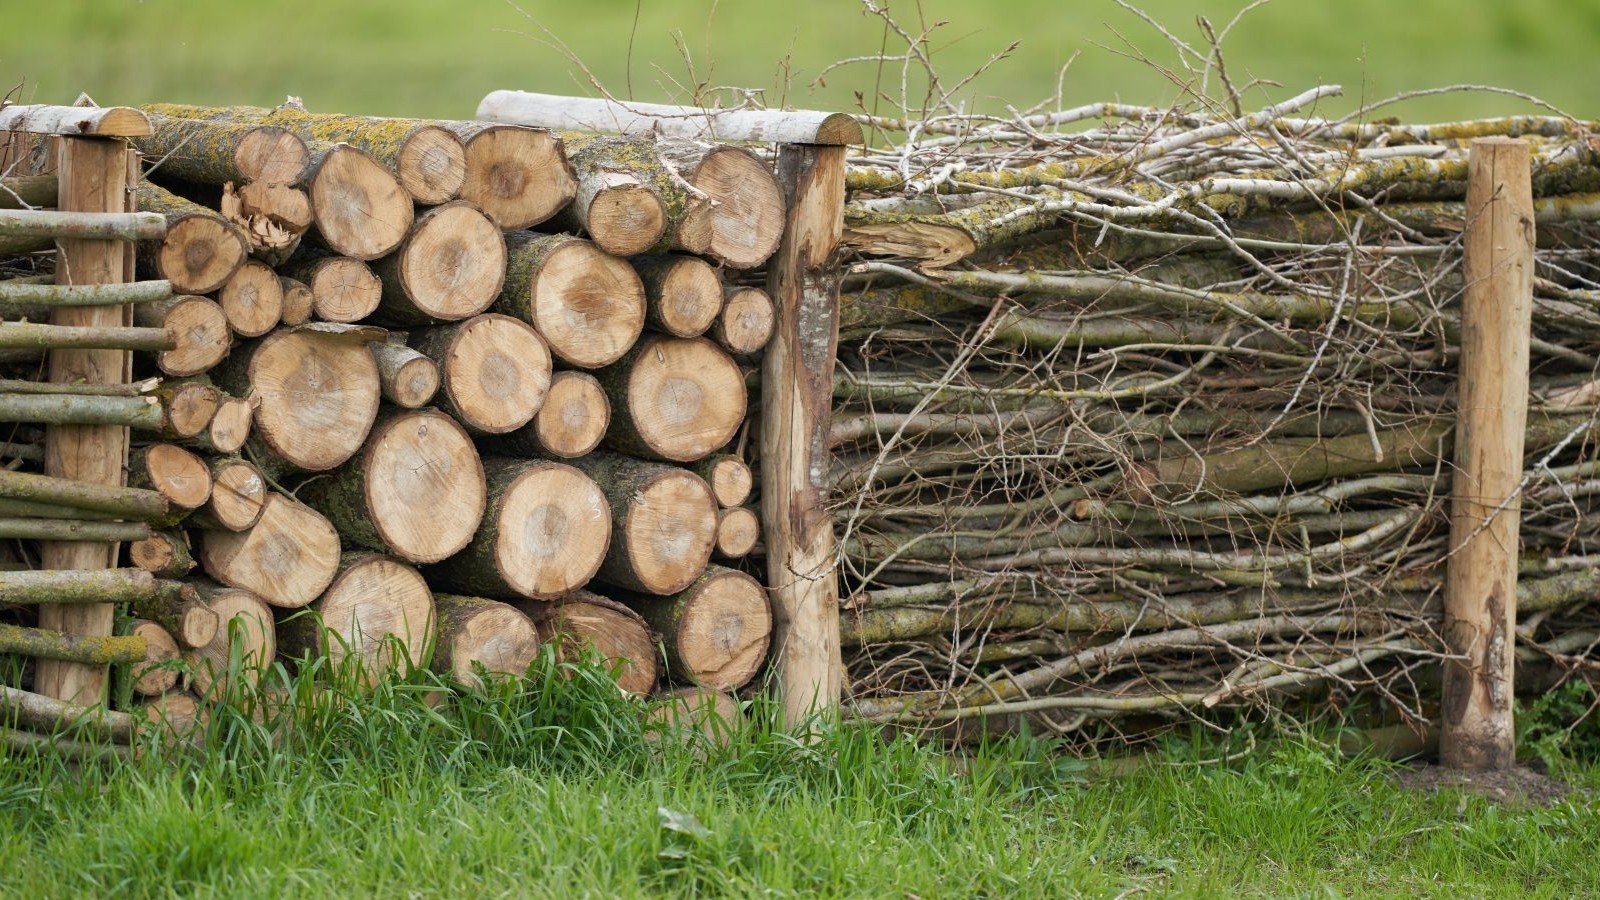
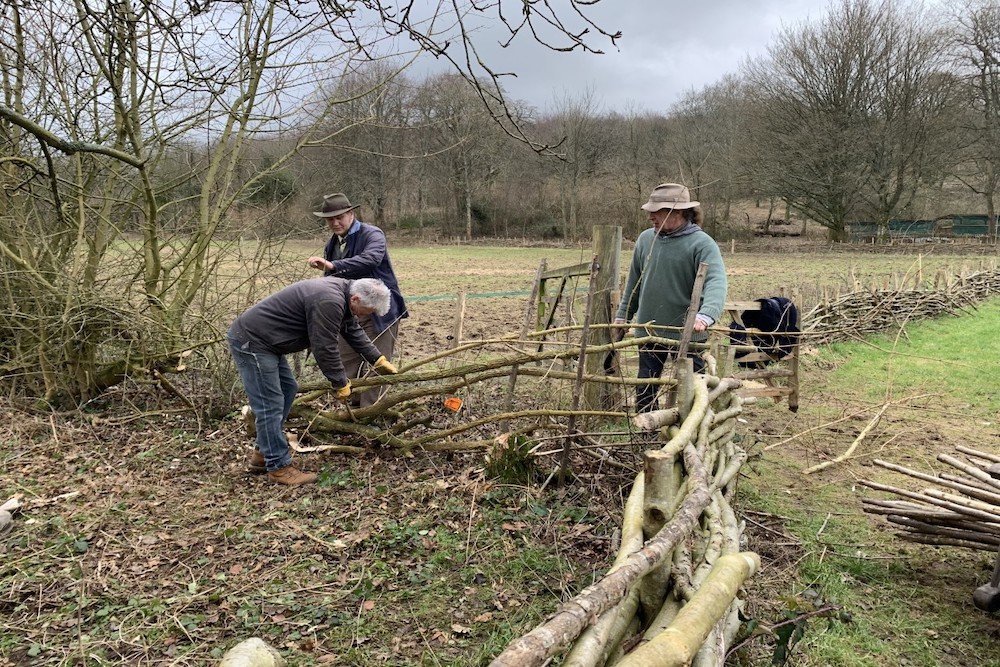
Step 5: Adding Subsequent Layers
Increase stability by continuing to add twigs and branches in rotating directions. Use leaves and smaller twigs to add volume and cover gaps. As you build, keep compactness and stability in mind. The height of the hedge will vary according to how it is meant to be used, but is generally between 3 and 6 feet.
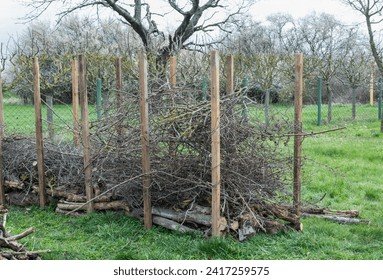
Step 6: Securing the Structure
When it has reached the desired height, weave flexible branches all around the stakes to secure the structure. This will secure the material and keep it from shifting. Add extra materials where necessary and look for weak spots.

Step 7: Maintaining Your Dead Hedge
Dead hedges don’t take much to keep up. The materials will degrade and settle in time, so check the stability and add new materials as often as you can. It also makes sense to include fresh garden waste to maintain the functionality and health of the hedge.
Common Mistakes to Avoid
Avoid using treated materials or wood types that contain chemicals that could be harmful to your garden. Make sure the hedge is stable and compact to avoid collapse. A fundamental component is the base layer, which shouldn’t be ignored as an unstable foundation could cause the structure to fail. Regularly look for gaps or instability, especially after strong winds or storms.
Conclusion
A sustainable and ecologically responsible option for gardeners wanting to improve their outdoor environments is the dead hedge. They provide multiple environmentally beneficial characteristics, like encouraging biodiversity and reducing waste. You can create a gorgeous, helpful dead hedge that enhances the natural beauty of your garden and supports wildlife by implementing the instructions presented earlier. Use this long-standing technique to help the local ecosystem and take advantage of a successful, biodiverse garden. `
