Potatoes are incredibly versatile and offer a wealth of nutrients, making them a dietary cornerstone in numerous cultures globally. Their culinary applications are virtually limitless – from mashing and frying to baking and boiling. But imagine cultivating your own potatoes in your backyard, even if space is limited. That’s where the potato tower comes in, presenting a vertical gardening approach maximizing yields despite space constraints. This guide provides a step-by-step walkthrough for constructing your own potato tower, ensuring efficient gardening.
Materials Needed:
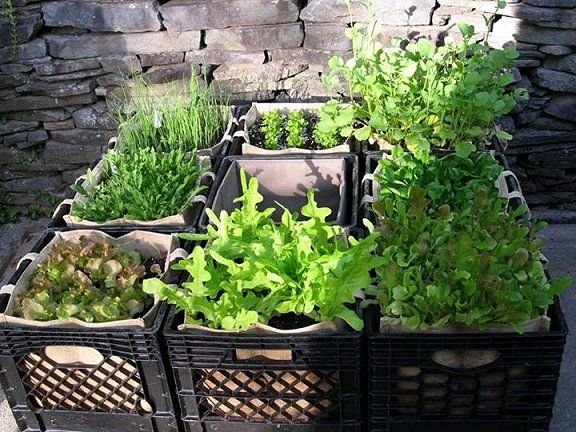
- Large container or tower: This could be a wire mesh cylinder, a wooden box, or even a stack of old tires. Ensure it’s at least 2-3 feet tall and wide enough to accommodate several layers of potatoes.
- Potting soil or compost: Choose a high-quality soil mix rich in organic matter to provide nutrients for your potatoes.
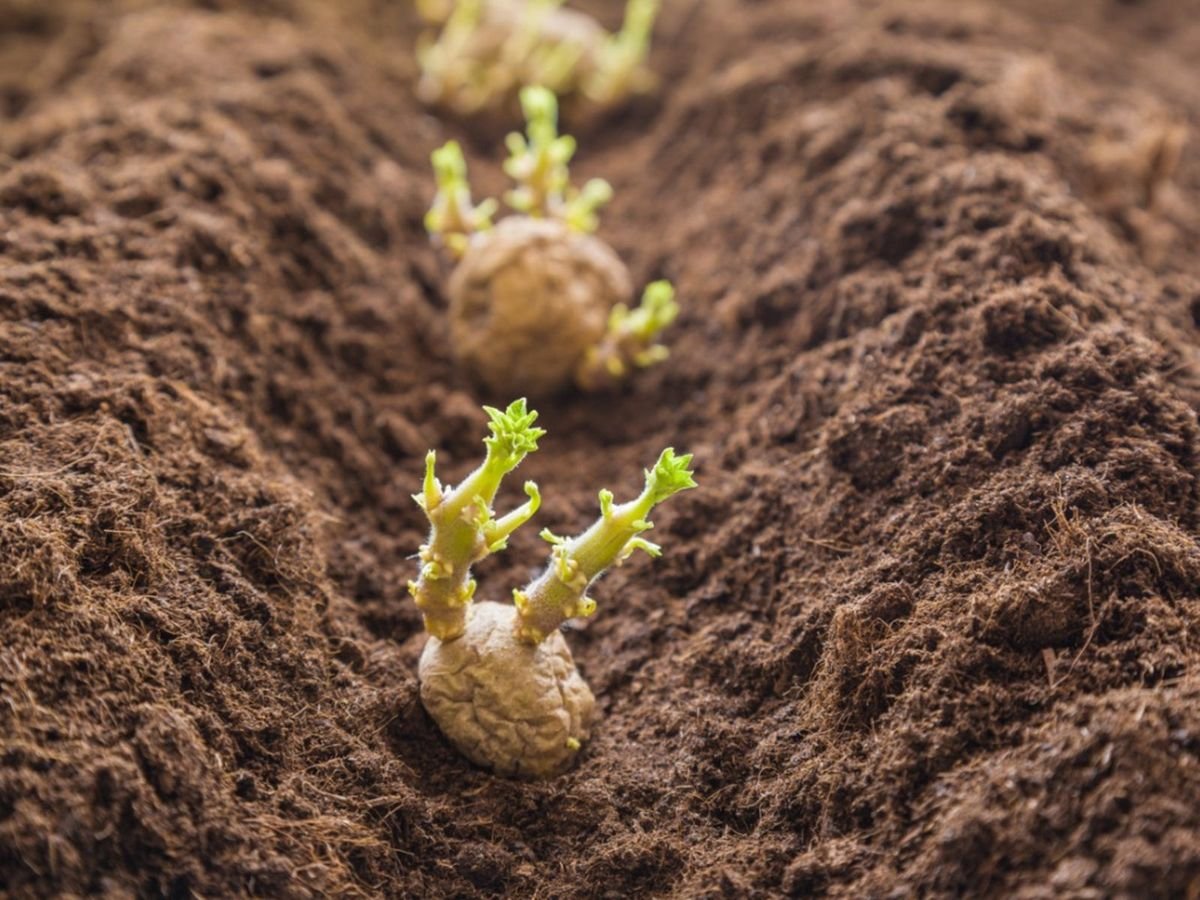
- Seed potatoes: Purchase certified disease-free seed potatoes from a reputable supplier. You can use whole potatoes or cut them into pieces with at least one eye per piece.
- Watering can or hose: You’ll need to keep your potato tower adequately watered throughout the growing season.
- Fertilizer (optional): Depending on your soil quality, you may choose to add a balanced fertilizer to promote healthy growth.
To get started, assemble these materials:
- A sizable container or tower is needed. Options include a wire mesh cylinder, a wooden crate, or a collection of old tires. It should measure at least 2-3 feet in height and possess sufficient width to house multiple potato layers.
- Opt for a premium potting soil or compost blend that is rich in organic components to nourish your potatoes.
- Procure certified, disease-free seed potatoes from a trusted provider. You can plant whole potatoes or divide them into segments, ensuring each section contains at least one eye.
- A watering can or hose will be essential for maintaining adequate hydration for your potato tower during the growing period.
- Fertilizer is optional; based on your soil’s inherent quality, you might choose to supplement with a well-balanced fertilizer to support robust development.
Step 1: Selecting a Location
Choose a sunny location for your potato tower. Potatoes require at least 6-8 hours of sunlight daily for optimal growth. Ensure the spot has good drainage to prevent waterlogging, which can lead to rotting.
First, identify an ideal location. Your potato tower needs to be situated in a sunny spot, as potatoes thrive on at least 6-8 hours of daily sunlight. Crucially, the area must have adequate drainage to avoid water accumulation, which could cause the potatoes to rot.
Step 2: Preparing the Container
If you’re using a wire mesh cylinder or wooden box, line the bottom with a layer of newspaper or landscape fabric to prevent soil from escaping. If using tires, simply stack them one on top of the other.
Next, prepare your container. If employing a wire mesh cylinder or a wooden box, line its base with newspaper or landscape fabric to keep the soil from leaking. When using tires, just stack them atop one another.
Step 3: Layering Potatoes and Soil
Start by adding a layer of potting soil or compost to the bottom of your container, about 4-6 inches deep. Place your seed potatoes evenly spaced on top of the soil, with the eyes facing upward. If using cut pieces, ensure each piece has at least one eye.
Cover the potatoes with another layer of soil, leaving about 4 inches of space between the soil surface and the rim of the container. Water thoroughly to ensure the soil is evenly moist.
Now, create layers of potatoes and soil. Begin by spreading a 4-6 inch layer of potting soil or compost along the container’s bottom. Position your seed potatoes uniformly across the soil’s surface, orienting the eyes upwards. If using potato pieces, ensure that each one has at least one eye.
Then, cover the potatoes with another layer of soil, leaving approximately 4 inches of space between the top of the soil and the container’s edge. Water deeply to ensure thorough soil moistening.
Step 4: Adding Layers
As your potato plants grow, continue adding layers of soil and potatoes to the container. Each time the plants reach about 6 inches in height, add another layer of soil and cover them, leaving only the top few inches of foliage exposed. Repeat this process until you reach the top of the container or until you run out of space.
Continue to add layers as the potato plants develop. Whenever the plants grow to around 6 inches tall, add another soil layer, burying the stems while leaving only the top few inches of leaves visible. Keep repeating this until you hit the container’s top or run out of space.
Step 5: Maintenance
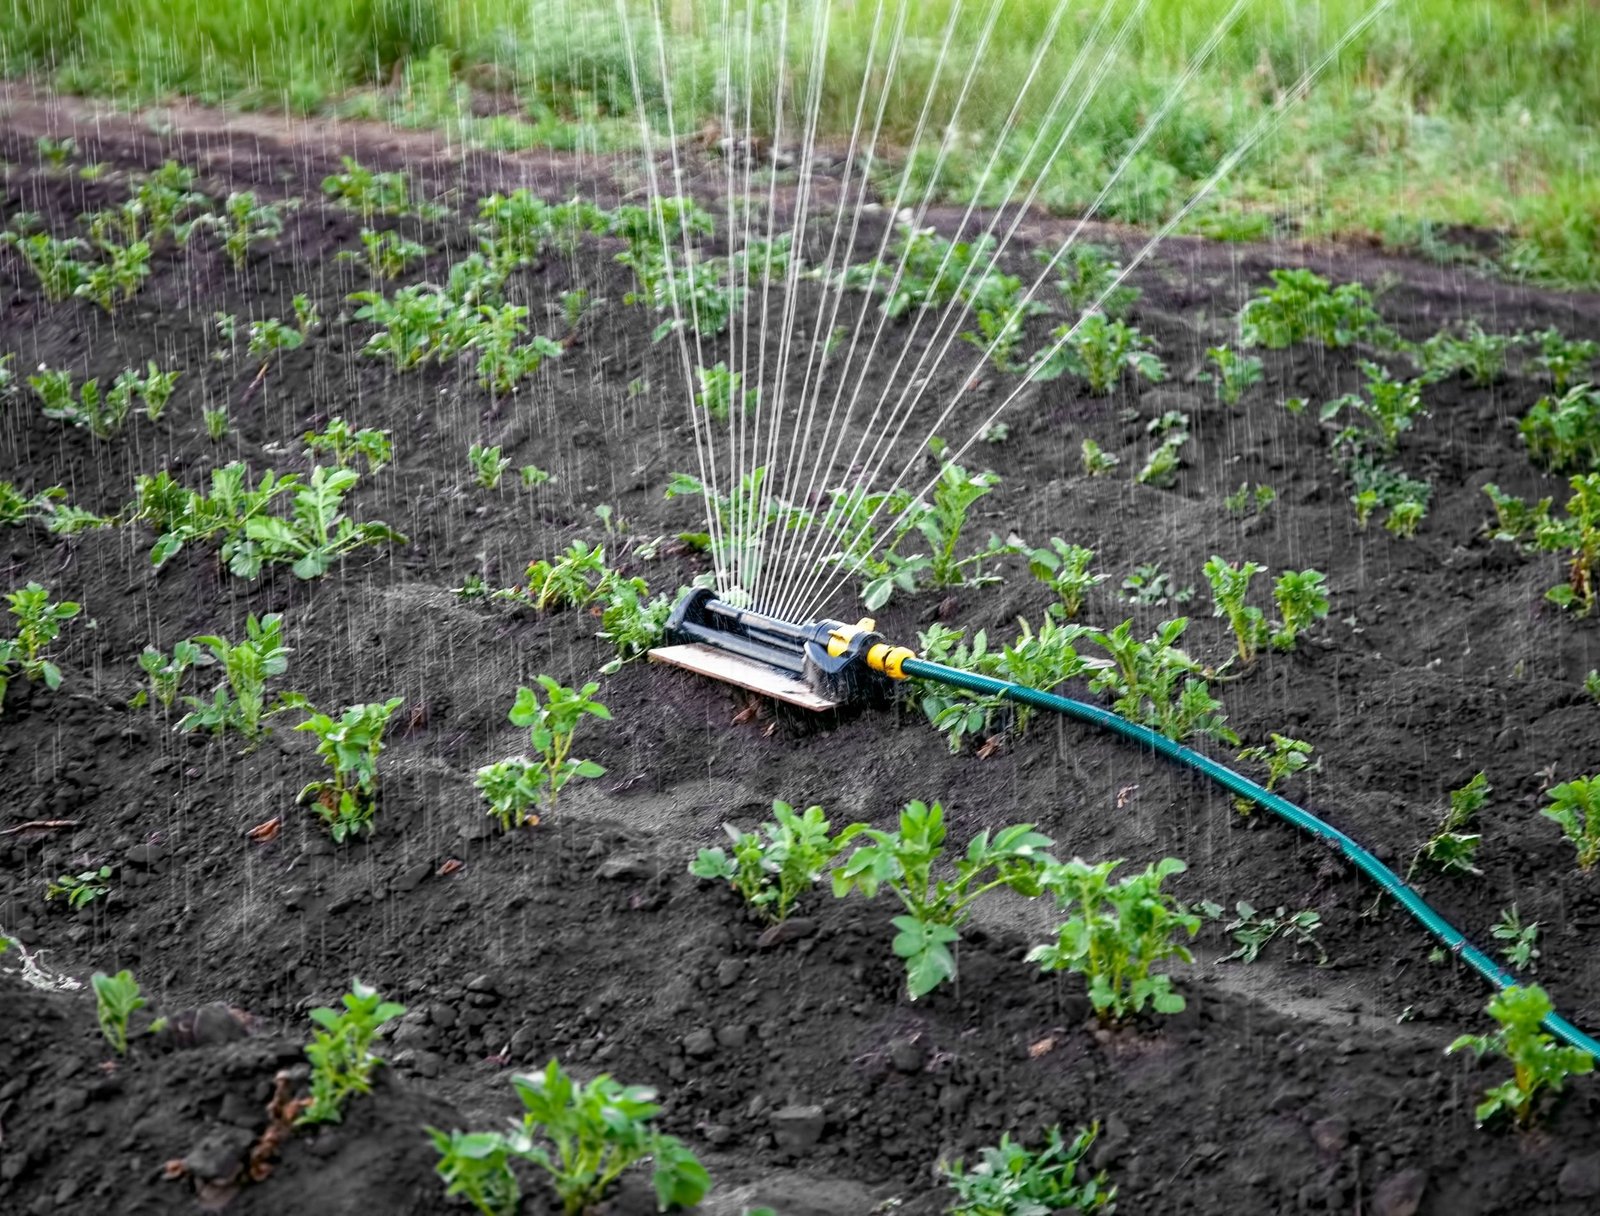
Water your potato tower regularly, ensuring the soil remains consistently moist but not waterlogged. Monitor for signs of pests or diseases, and take appropriate action if necessary. You may also choose to fertilize your plants periodically to promote healthy growth.
Maintain your potato tower with regular watering, keeping the soil consistently damp but preventing waterlogging. Inspect for any traces of pests or diseases, taking prompt action if needed. Consider applying fertilizer occasionally to foster healthy plant development.
Step 6: Harvesting
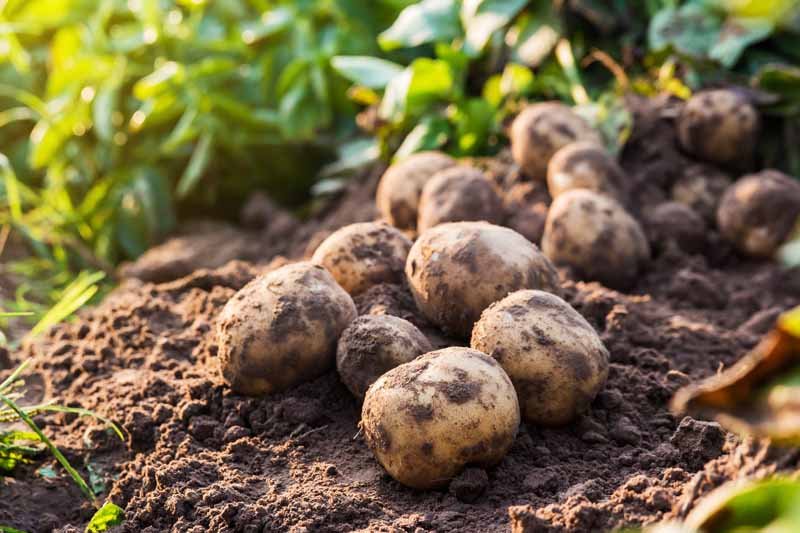
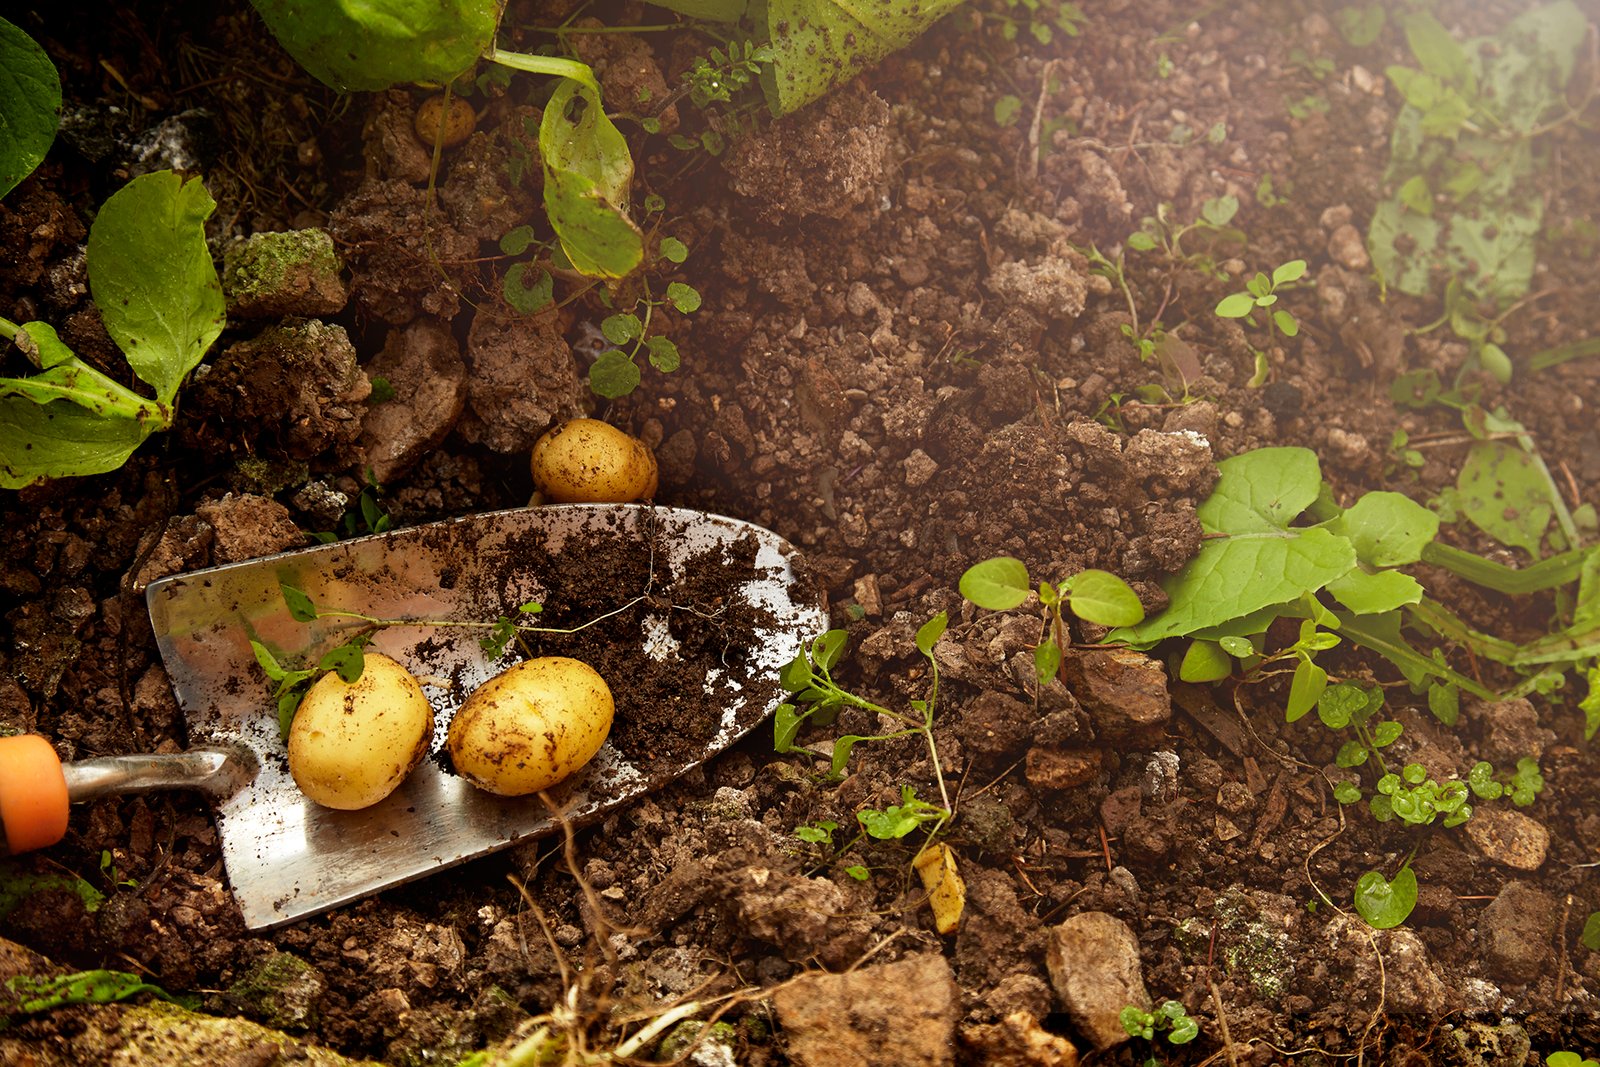
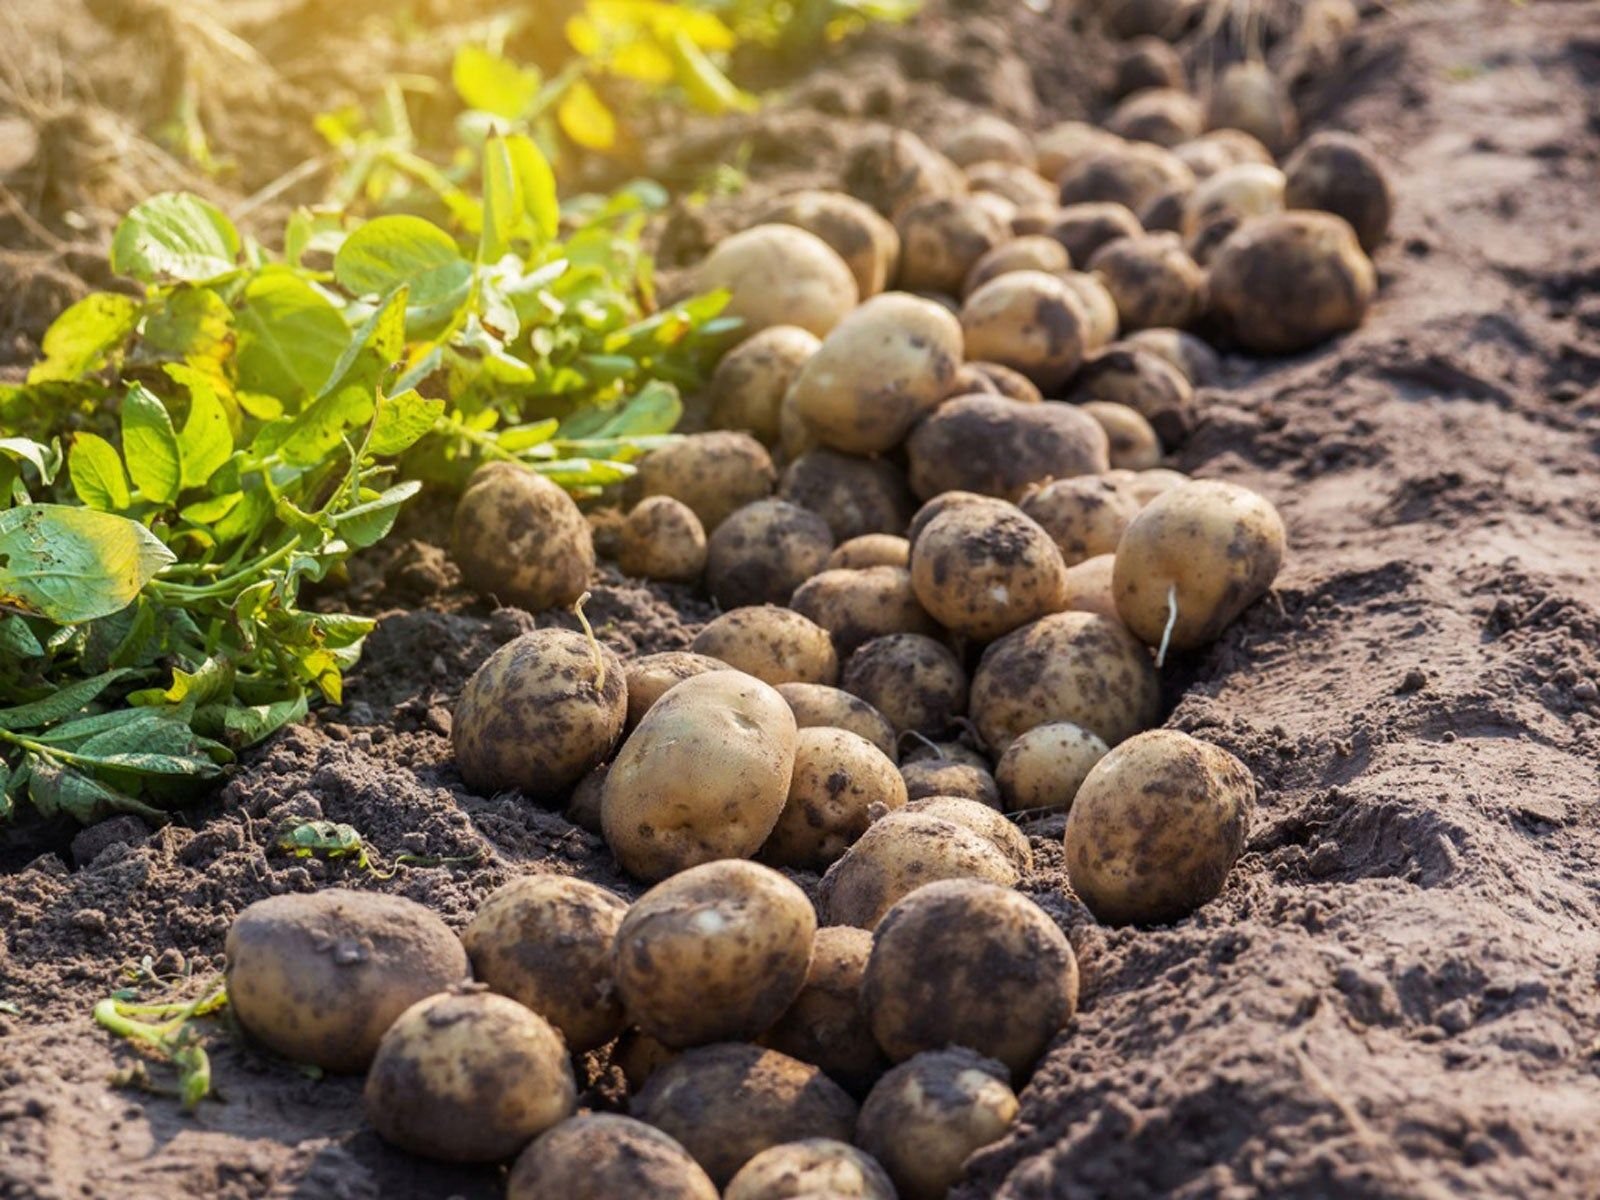
Potatoes are typically ready for harvest 10-12 weeks after planting, depending on the variety. When the foliage starts to yellow and die back, it’s a sign that the potatoes are ready to be harvested. Carefully dig around the base of the plant to unearth the tubers, being careful not to damage them.
Typically, potatoes are harvest-ready approximately 10-12 weeks after planting, although this can vary depending on the specific potato type. Yellowing and dieback of the foliage signal that it’s time to harvest. Carefully excavate around the plant’s base to reveal the tubers, taking care to avoid damaging them.
Step 7: Enjoy Your Harvest
Once harvested, allow your potatoes to cure in a cool, dark place for a few days to toughen their skins and improve storage life. Then, enjoy the fruits of your labor in your favorite potato dishes, knowing that you grew them yourself with minimal space and effort.
Following harvest, allow the potatoes to cure for several days in a cool, dark area. This helps to harden their skins and increase their storage duration. Afterward, relish the rewards of your efforts by preparing your preferred potato-based meals, knowing that you cultivated them yourself with minimal space and exertion.
In conclusion, building a potato tower is a simple and efficient way to grow your own potatoes, even if you have limited space. By following this step-by-step guide and providing proper care and maintenance, you can enjoy a bountiful harvest of homegrown potatoes right from your backyard. Happy gardening!
In summary, creating a potato tower provides a straightforward and effective method for cultivating your own potatoes, even when space is at a premium. By adhering to this detailed guide and supplying suitable care and support, you can look forward to a plentiful crop of homegrown potatoes directly from your backyard. Happy Gardening!

Conclusion
In summary, creating a potato tower provides a straightforward and effective method for cultivating your own potatoes, even when space is at a premium. By adhering to this detailed guide and supplying suitable care and support, you can look forward to a plentiful crop of homegrown potatoes directly from your backyard. Happy gardening!
Remember to celebrate your success after your harvest! These homegrown potatoes can be a delightful addition to your meals, enriching your dishes with freshness and flavor. So, gather your friends and family, and share the joys of gardening and home-cooked meals made with your very own potato tower harvest! Enjoy the fruits of your labor, and consider expanding your gardening projects for even more growing fun in the future.
